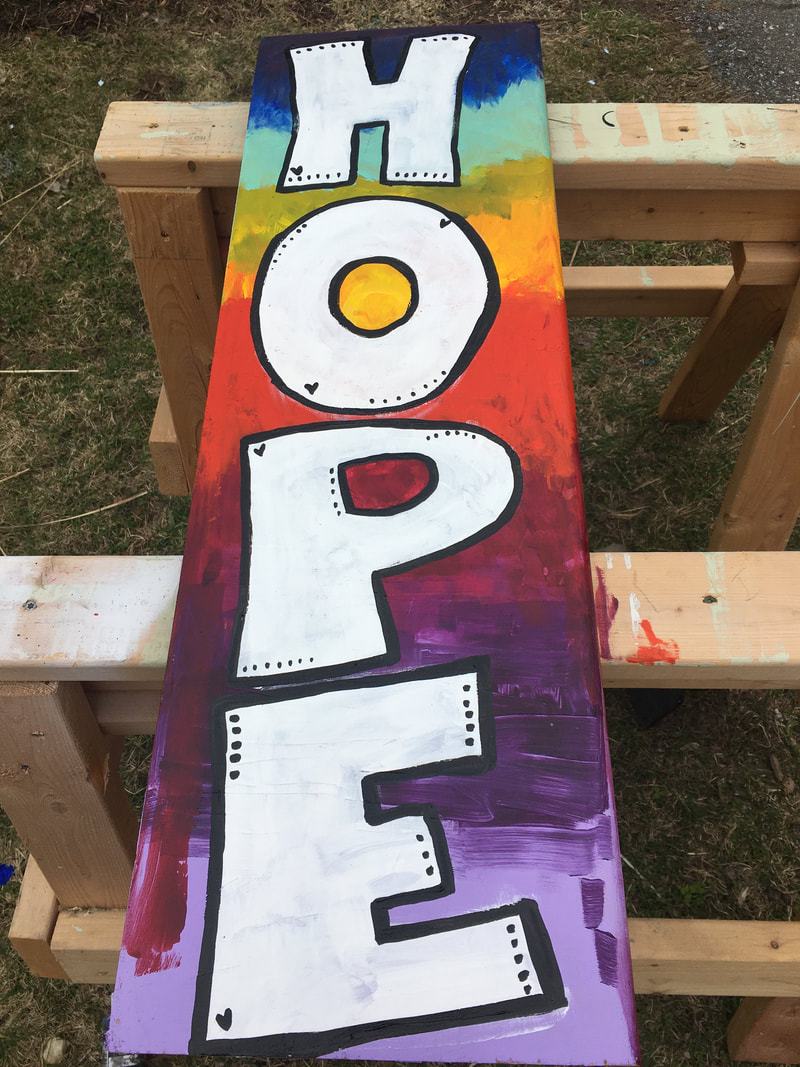
Hello Everyone! 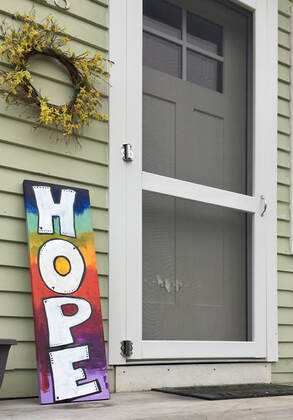 I compiled a video of the making of my "HOPE" Rainbow Art Sign. (WOW editing takes a Long time!)
Watching artists at work always helps me learn and find new ways to create! Note: this video was taken in "timelapse" mode, which means that I sped up the recording of the camera. This is important to know because many artists do this when they share their processes to social media or Youtube. My hands and body DO NOT move that fast to make things well crafted! So, while the video is only 2 min. long, it actually took me close to two hours to make the sign. I hope you enjoy watching my process! Click link above or click on the photo!
11 Comments
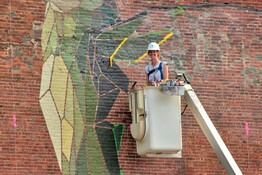
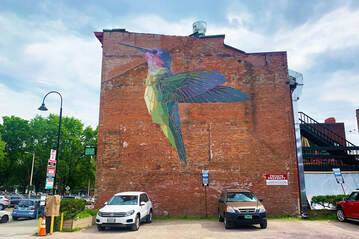
 Rainbow by Laurlee Chambers, NY Art Teacher Rainbow by Laurlee Chambers, NY Art Teacher One of the many things art can do is bring joy - to the maker (the artist) and the receiver/viewer and often the public though gallery exhibitions or public art. We are lucky to have lots of public art right here in Burlington. Mary Lacy is one Vermont artist whose work has changed the mural landscape here in town. I think my favorite one is her enormous hummingbird downtown. Here is a picture of Mary working on it using a cherry picker to reach up so high!
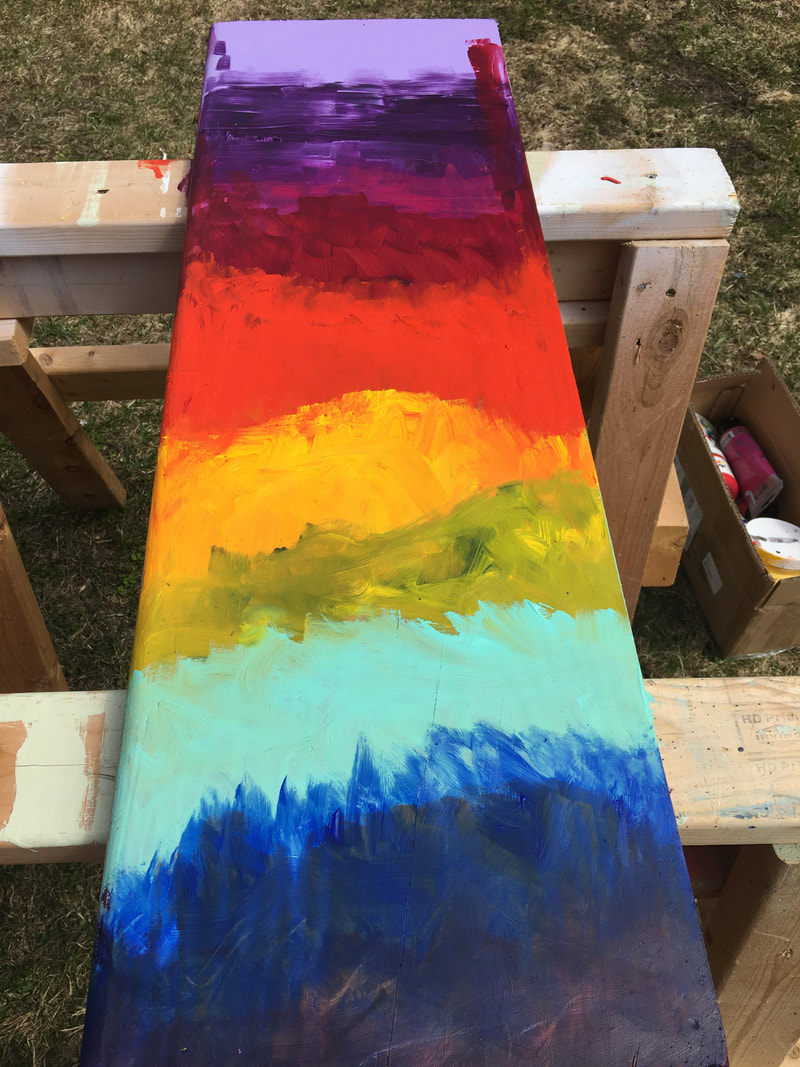
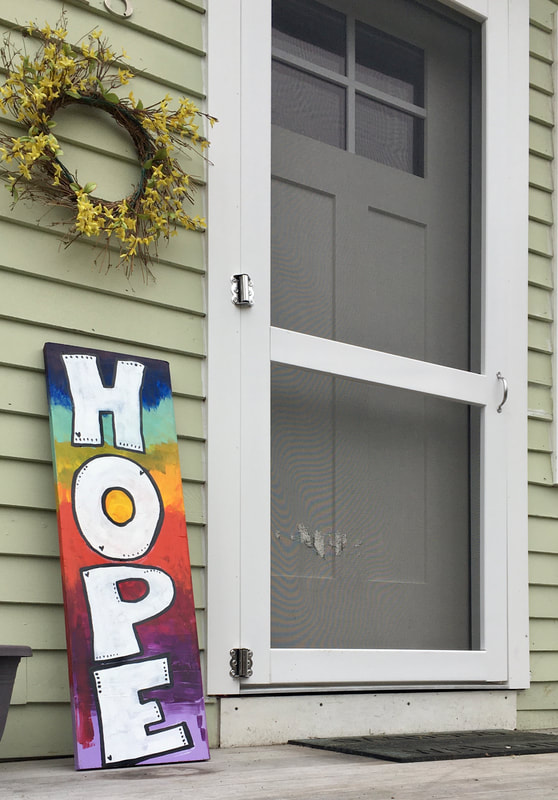
Art in public places brings so many people joy, and actually dates back to the "Federal Art Project Act" of 1935-45, as part of the New Deal Legislation to help artists have work and to create jobs to lift people out of economic depression. A cool side effect of this legislation was the boosting of morale as art came into public places. Activity: Create RAINBOW ART! to bring JOY to others! As a response to schools closing, and people being home, families across Europe and the UK have been making RAINBOW Art with messages of Hope and Cheer, to hang in their windows, doors or to put signs on the lawn. These bright and cheery messages have brought a smile to many peoples faces and joy to others as they go on daily walks, or for delivery people or home health workers, as they bravely work each day. Here is your creative challenge this week: 1. Use things you have around your home: Cardboard boxes, crayons, paper, scissors, markers- whatever you have. Ask you adult for help or ideas for what you can use. 2. Create a sign with a message of HOPE and a RAINBOW - in fact, now is a GREAT TIME to review or re-meet our friend, ROY G. BIV - our colorful friend who is always at the RAINBOW's end! 3. Hang it up somewhere - in a window, in your door, outside (ask your adult for help) where it can bring people cheer. 4. Email me a picture of your RAINBOW JOY! and I will share it in our gallery. Alternative ideas: * Use chalk (safely, with supervision outside staying safely away from others) and create messages of joy and hope using RAINBOW chalk! *Paint right onto the glass of your door or front window - if you mix DISH SOAP with tempera or poster paint, you can paint right onto your door. The soap makes it super easy to wash off. This is a great project to do as a FAMILY or with your siblings, together!! Here is the sign I created yesterday for my front yard! My door is far away from my road (I live in a more rural area) so I made this sign from an old piece of wood I found in our garage, and some paint! I put it down by the road so people driving or walking or biking by could see it! I plan to make a few more to create a whole lot of joy! I cannot wait to see what you all make! Don't forget to have your parents EMAIL ME your RAINBOW pictures!
CP Smith Artists! Your Mandala work this week was SO creative and wonderful. I loved all of the creative materials you used! I noticed that you all considered ways to achieve UNITY and a THEME in your mandala! This is such a GREAT art skill to be developing right now! Remember, you can send me your Mandala ANY time and I will add it to the gallery! Next week: We will be using found objects to help fuel creative drawing ideas. All you will need is one found object, ANY kind of paper and a pencil!
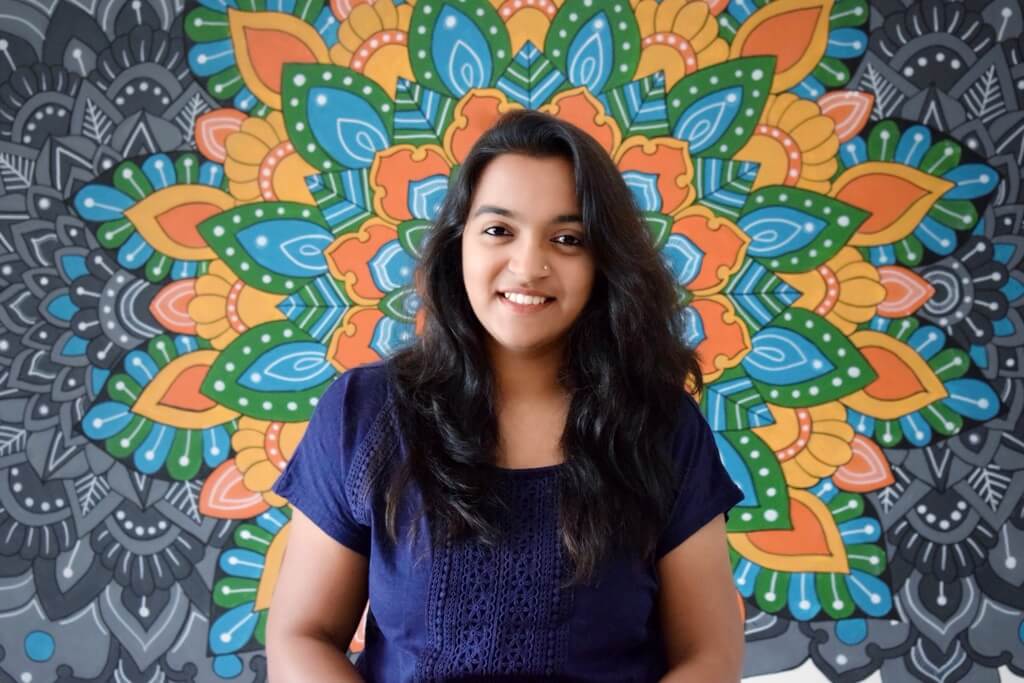
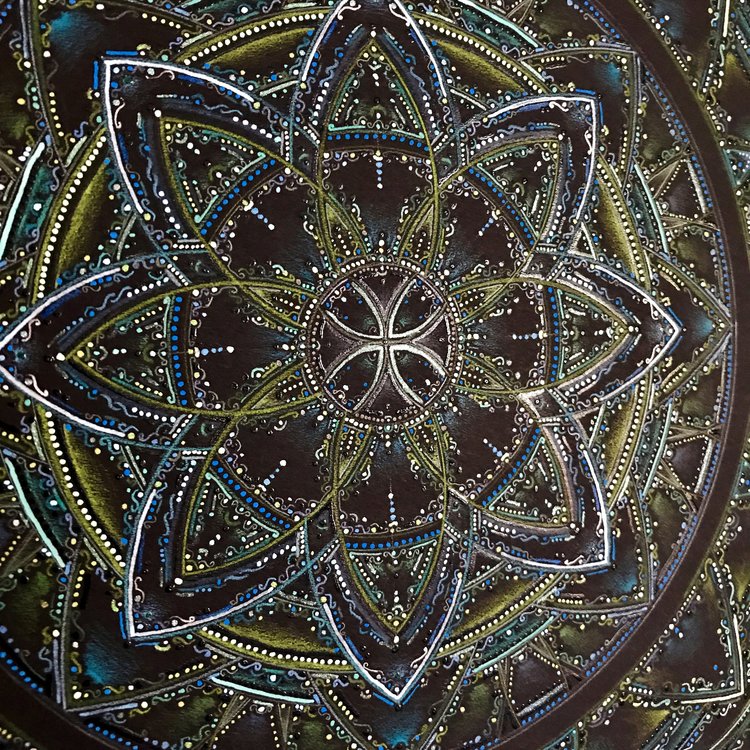
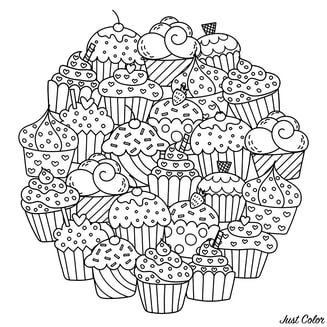 Happy Wednesday Artists! I am totally giggling at HOW MANY printable mandala coloring pages there are on the internet! A quick search brings up several hundred website with free, printable coloring pages. Here are a few that seem quite good: Monday Mandalas Color-a-Mandala Free-Mandalas Mandala Inspired Artists I LOVE LOVE LOVE the work of Prasun Balasubramaniam, who is a self-taught Mandala artist and illustrator who hails from Salem, Tamil Nadu. She is known to create intricate, vibrant, and vivid artworks, and believes that Mandalas require intense focus and attention to the present moment, which induces mindfulness.
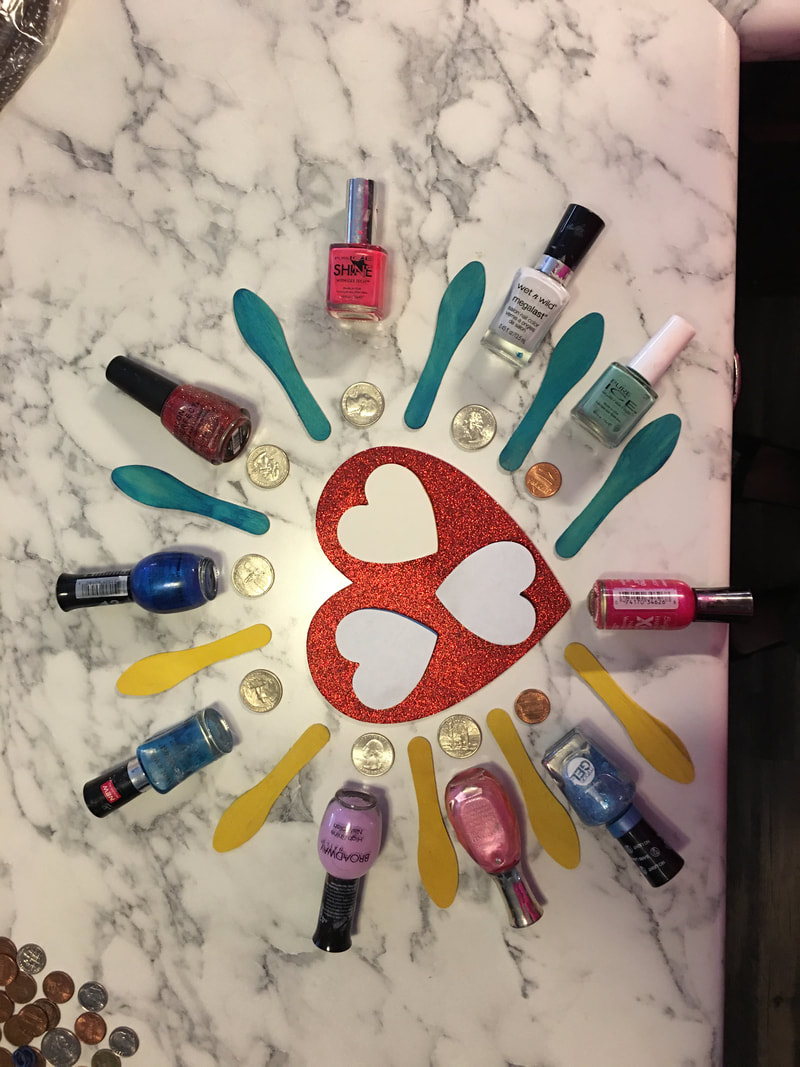
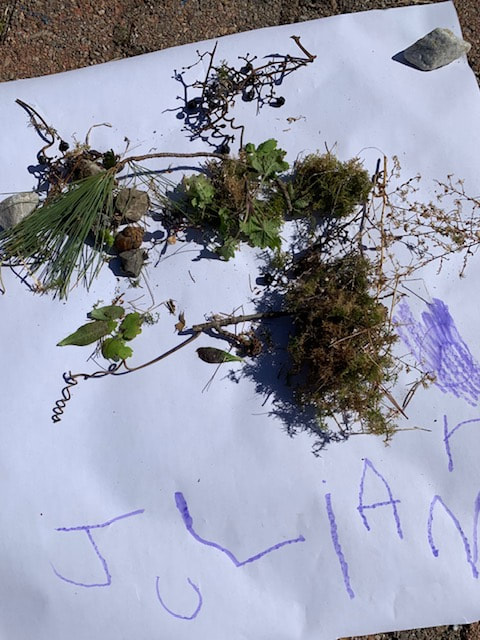
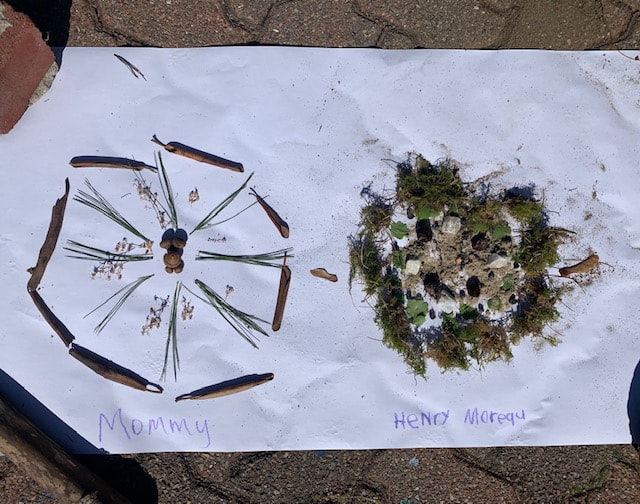
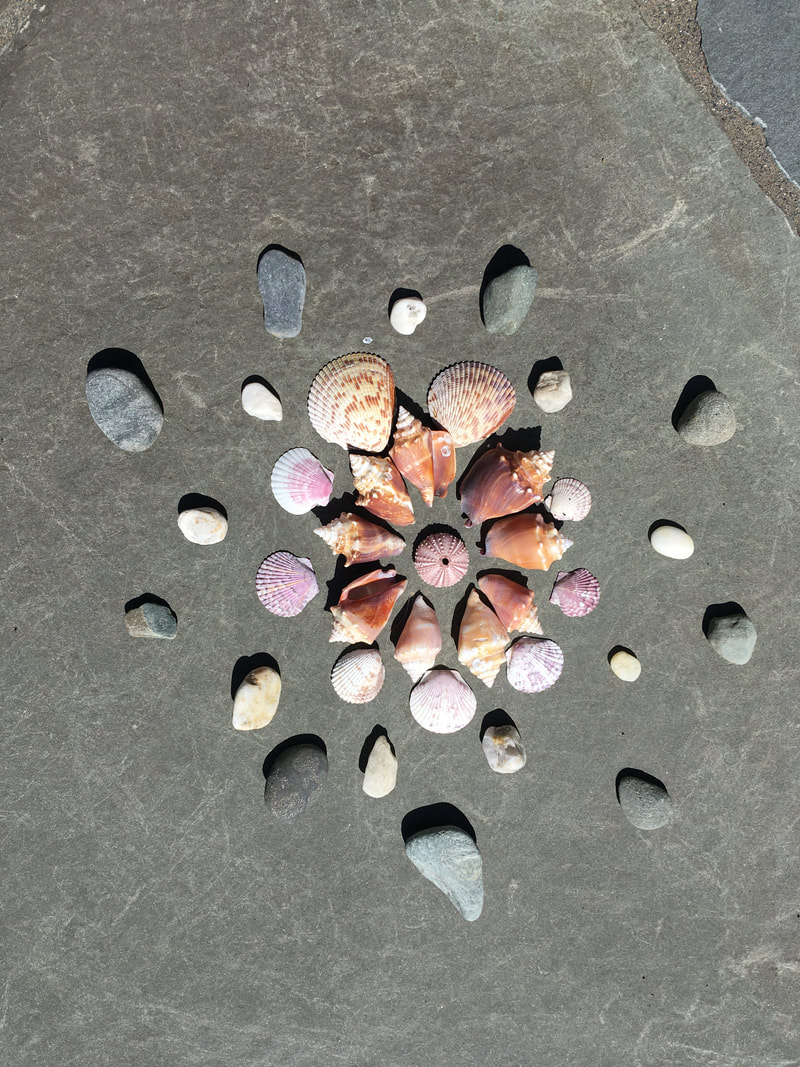
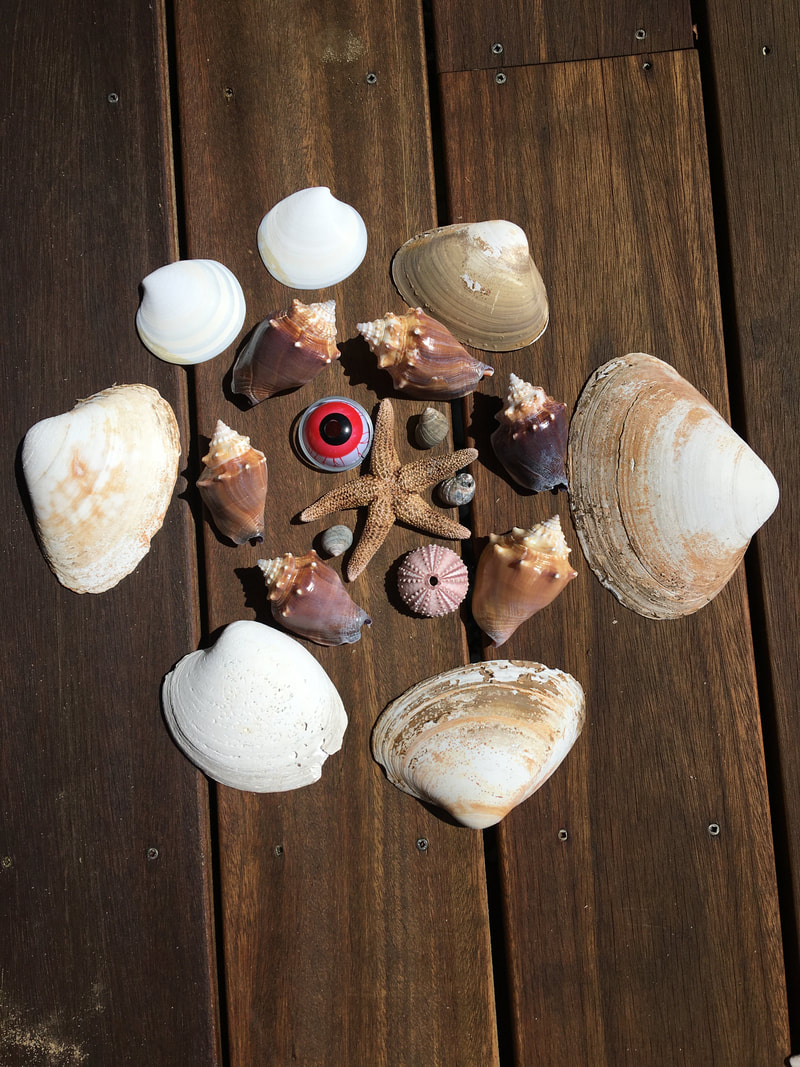
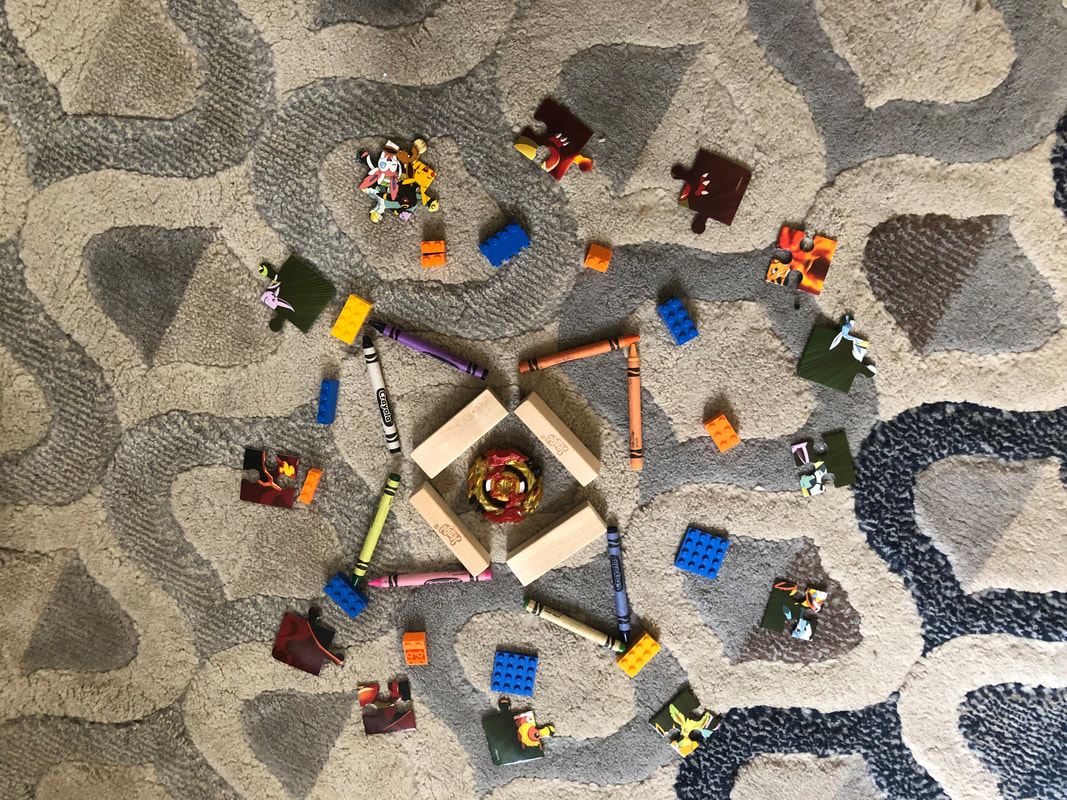
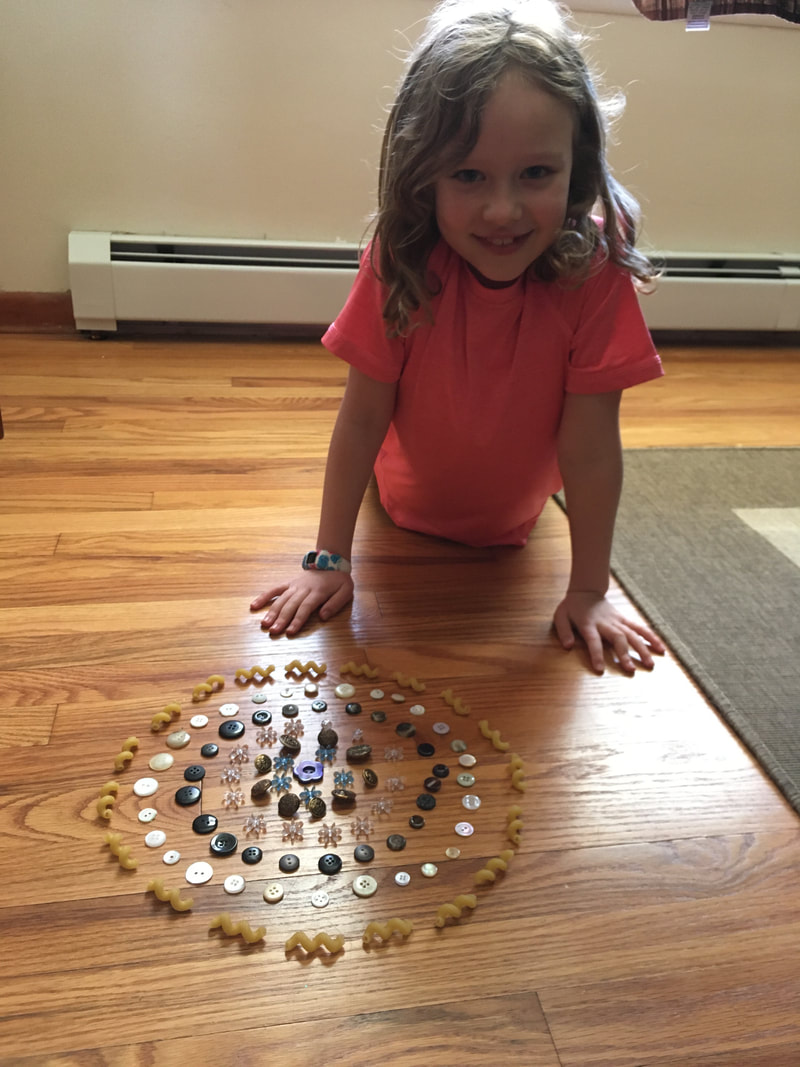
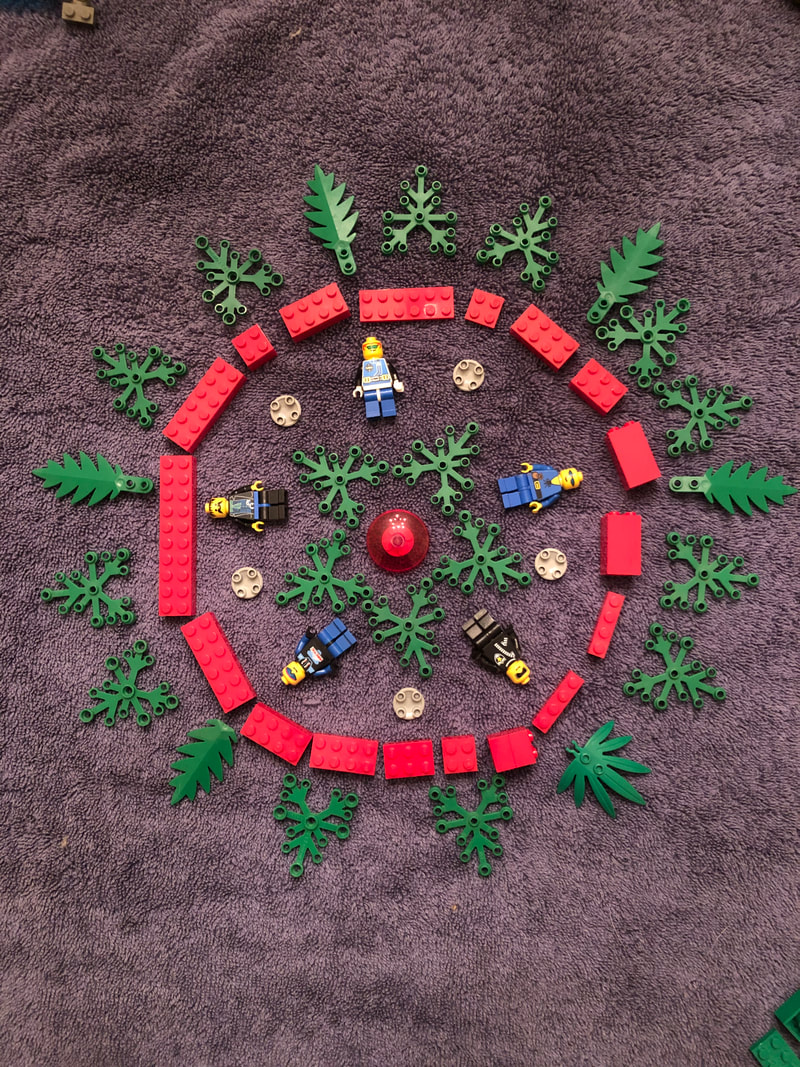
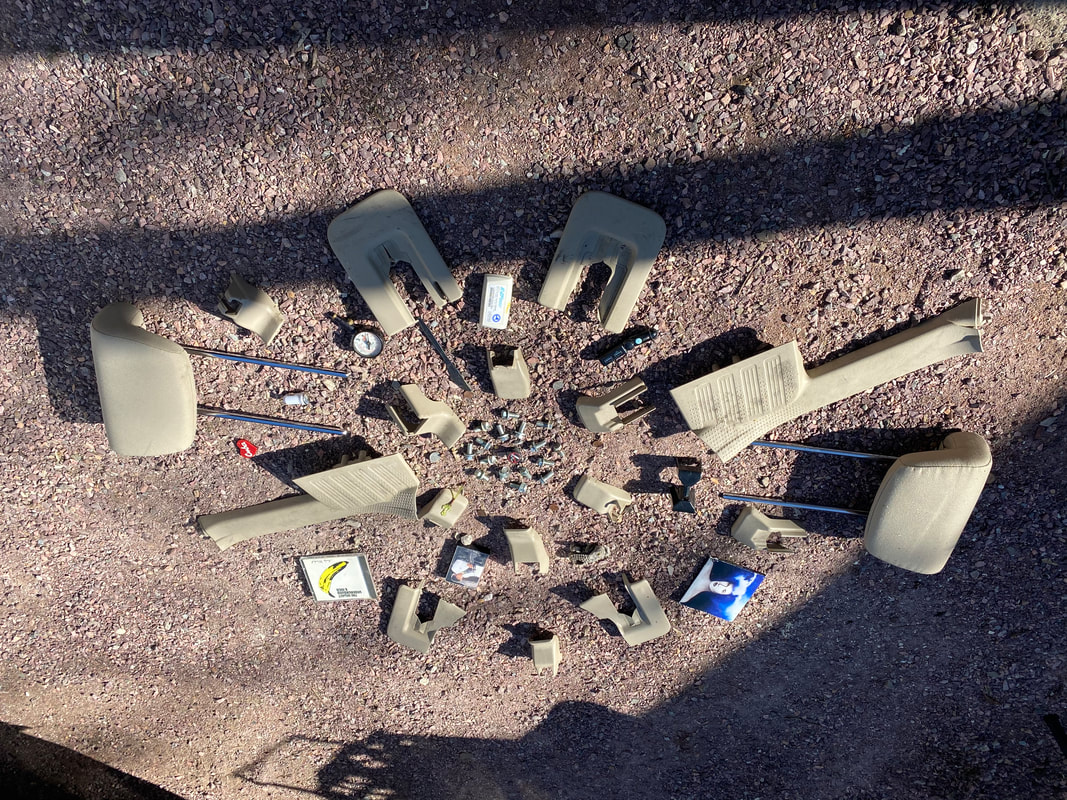
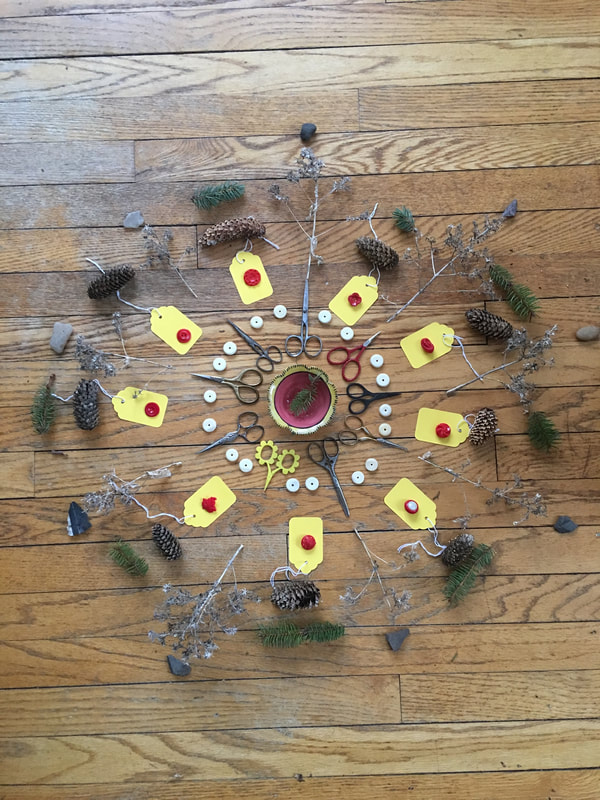
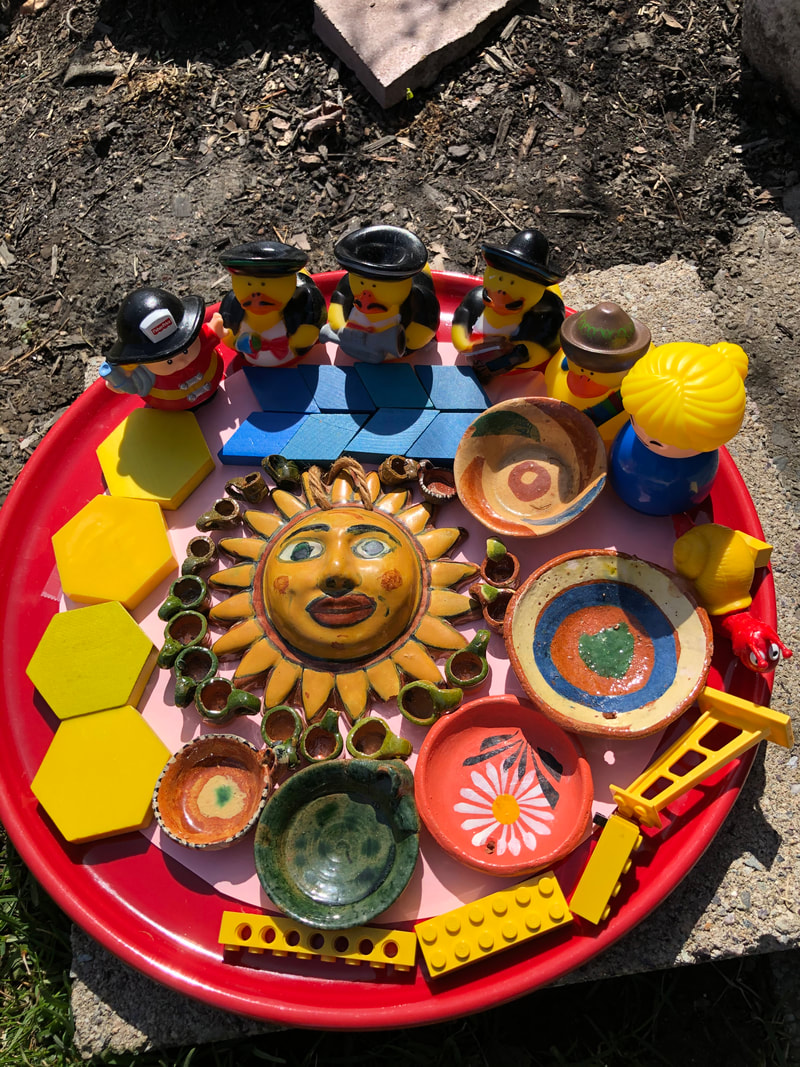
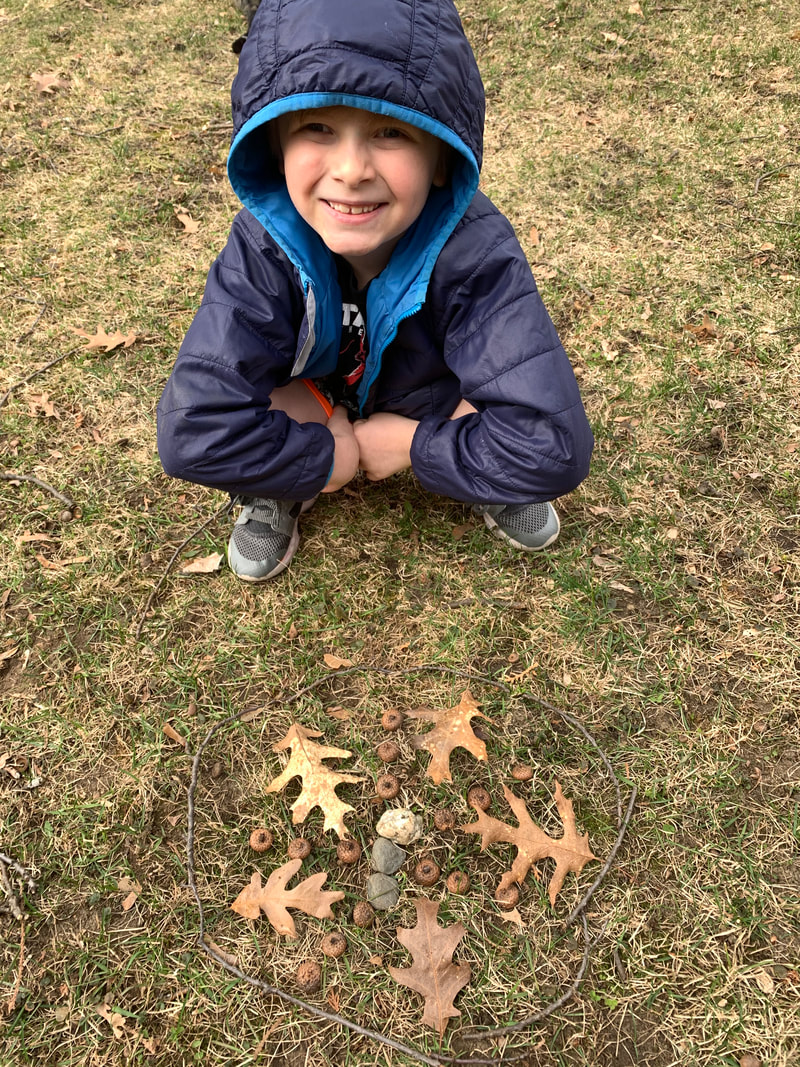
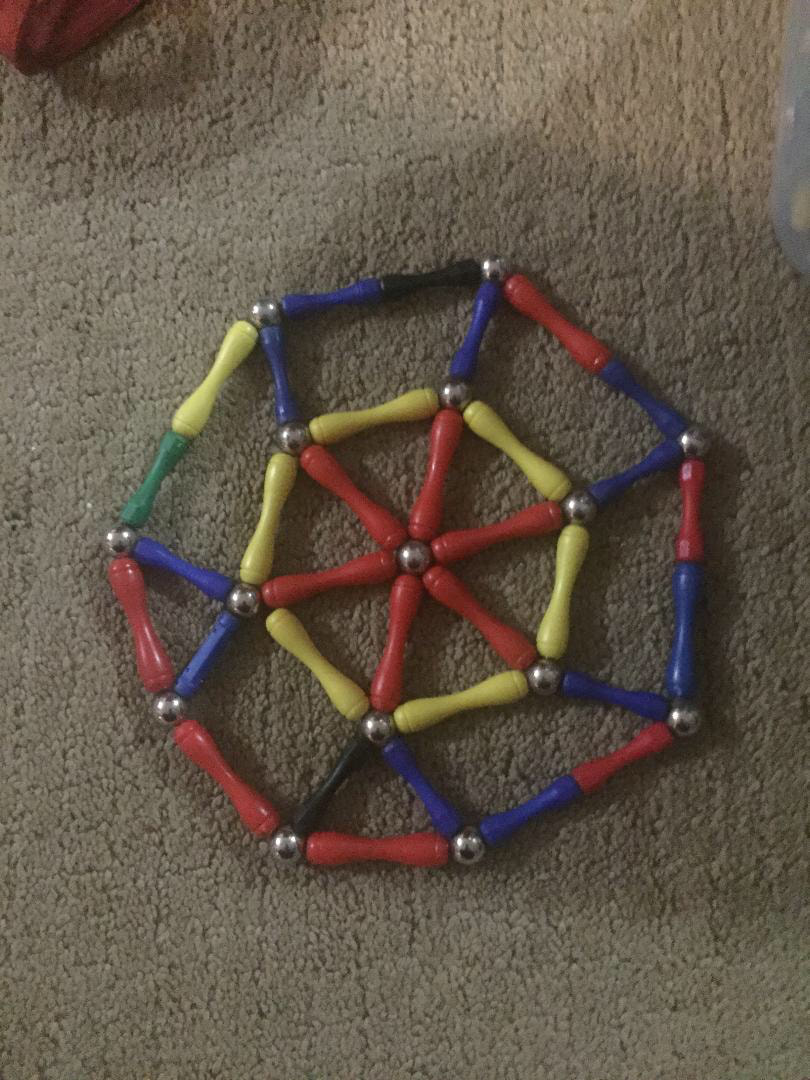
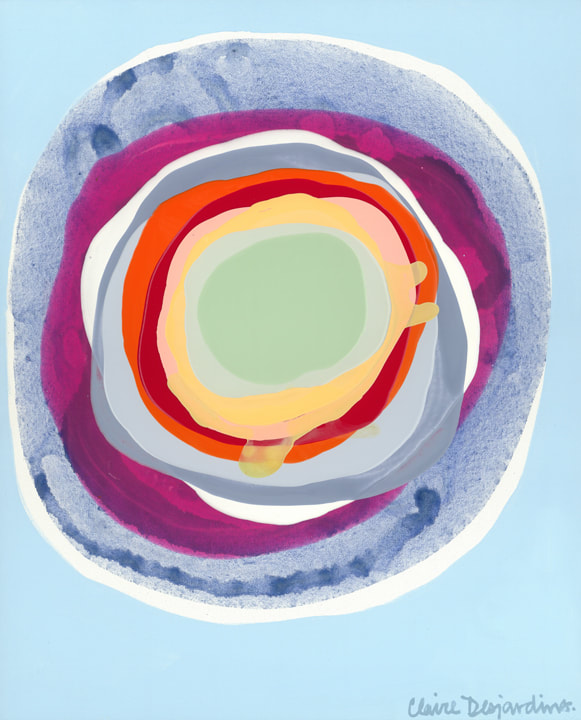
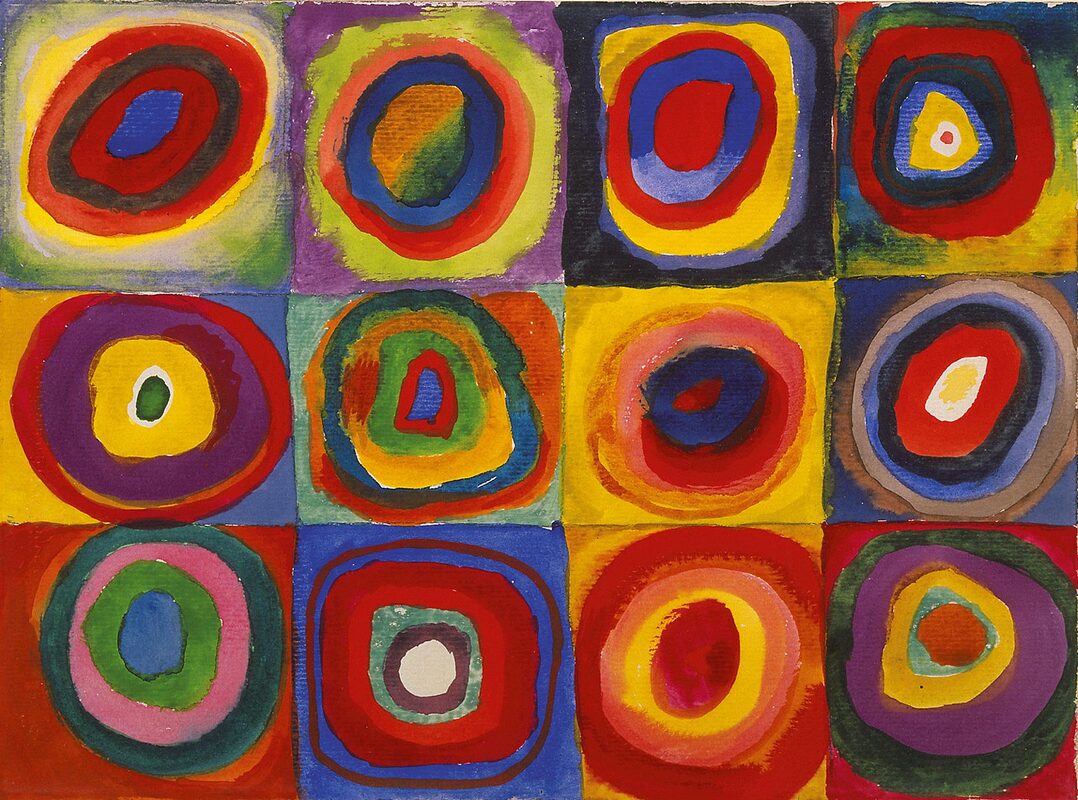
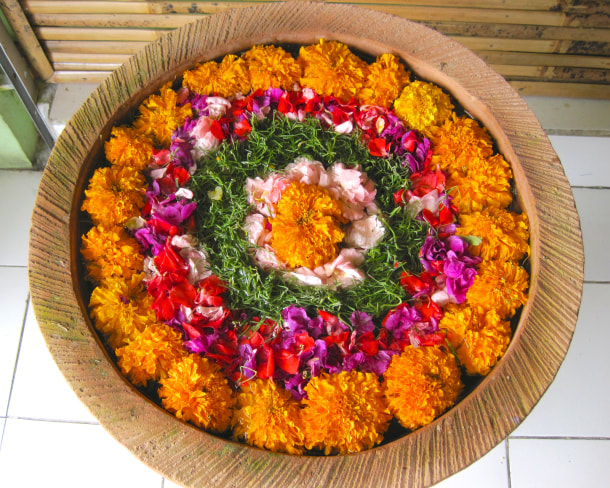
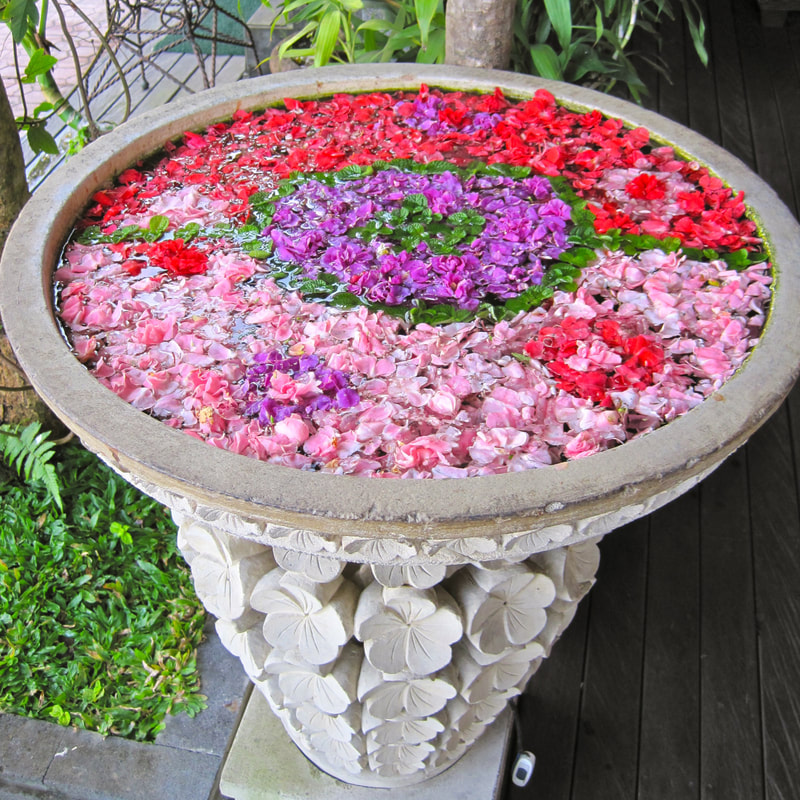
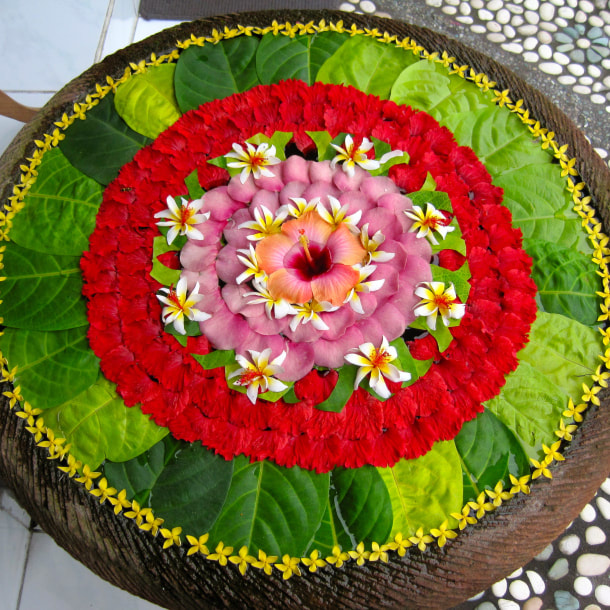
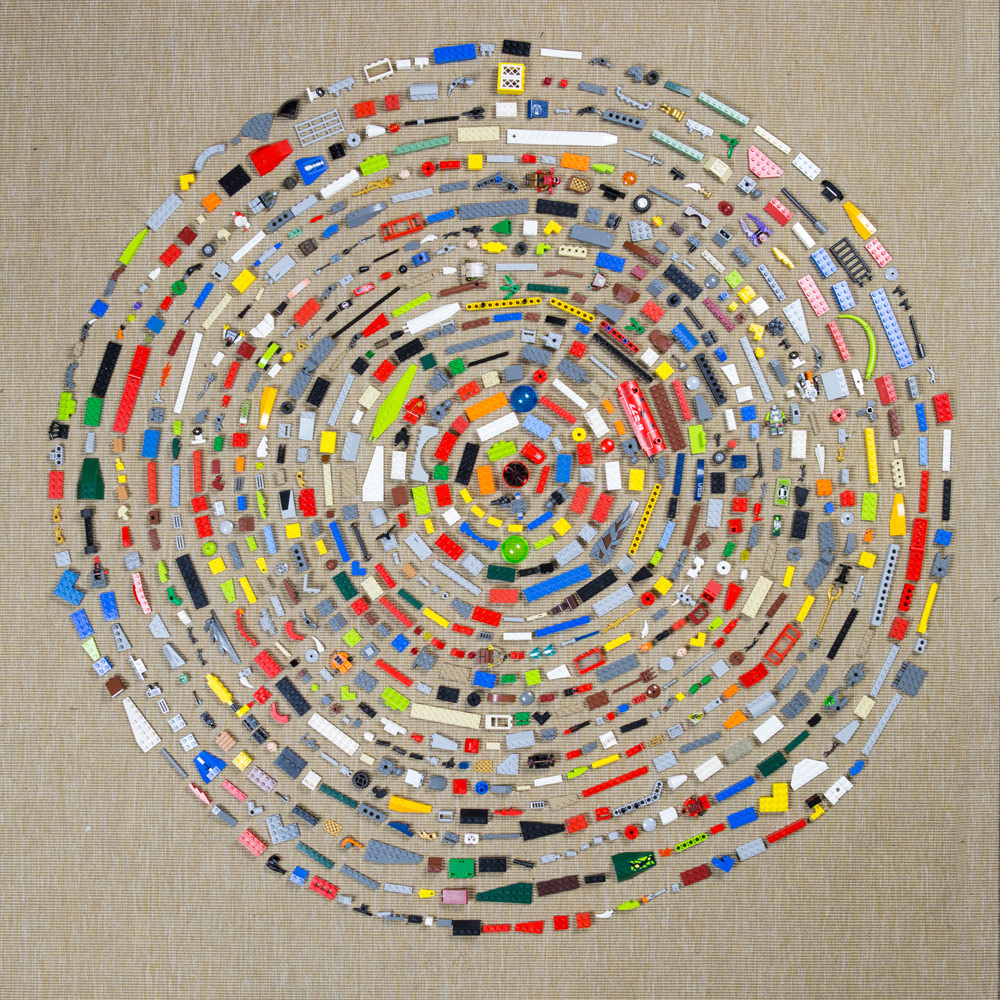
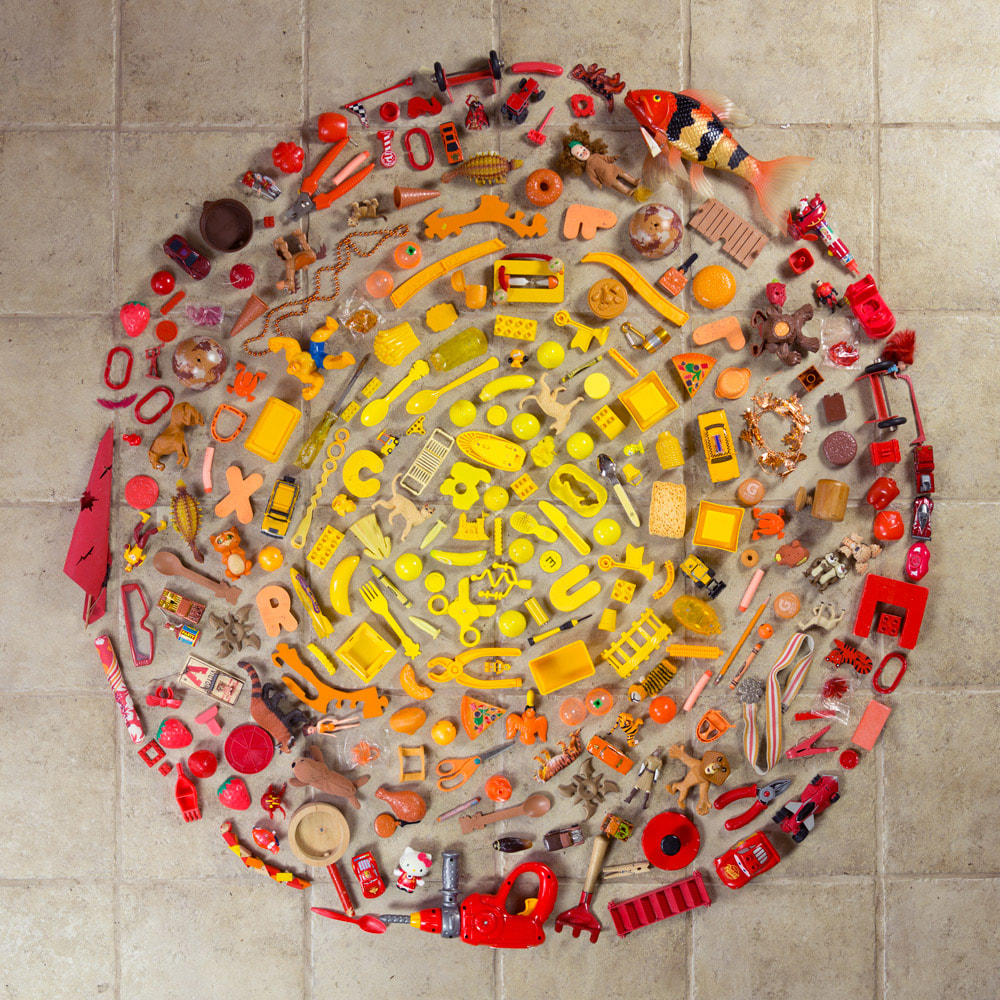
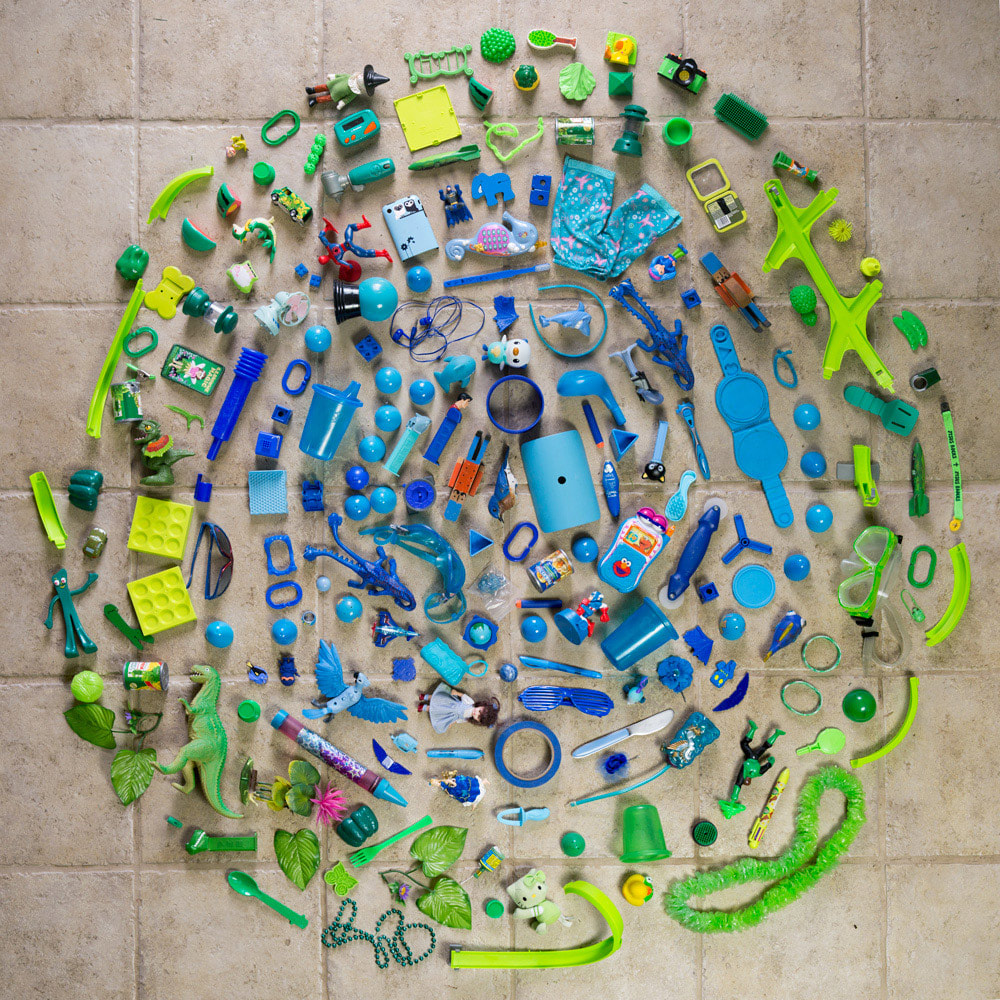
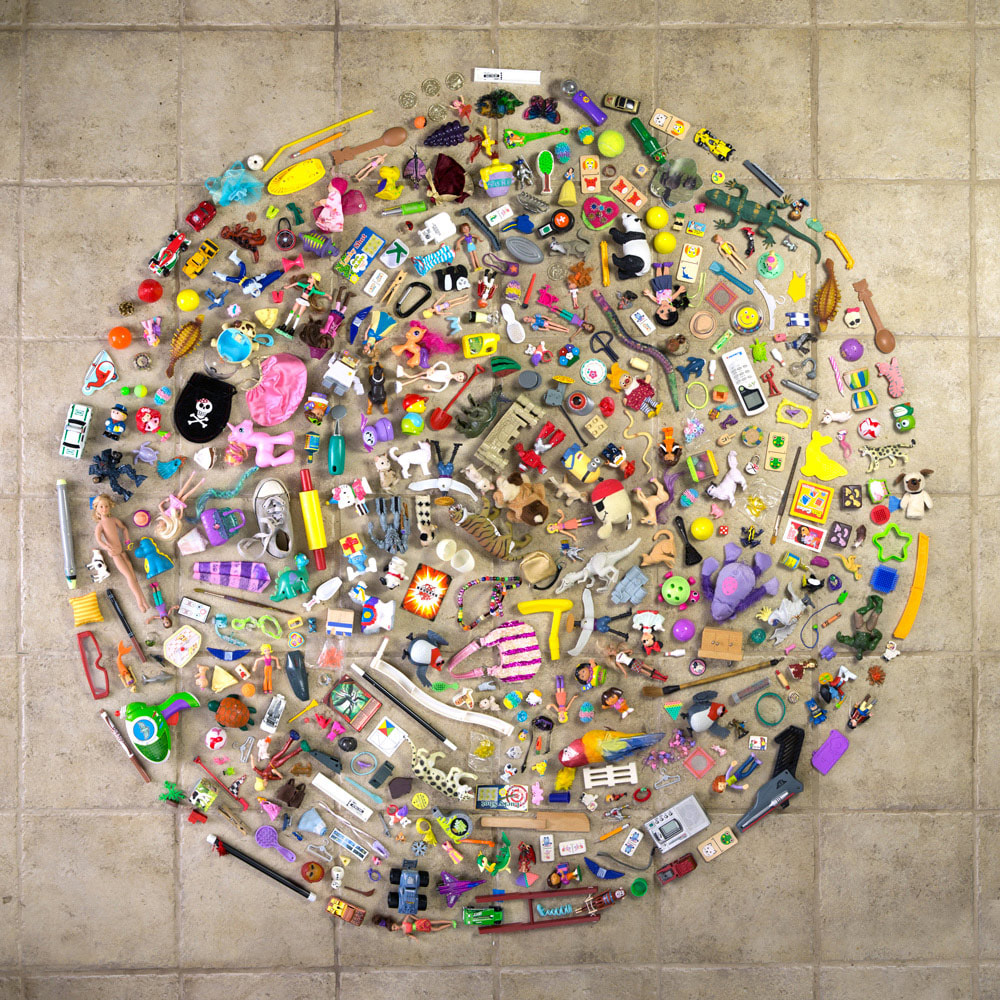
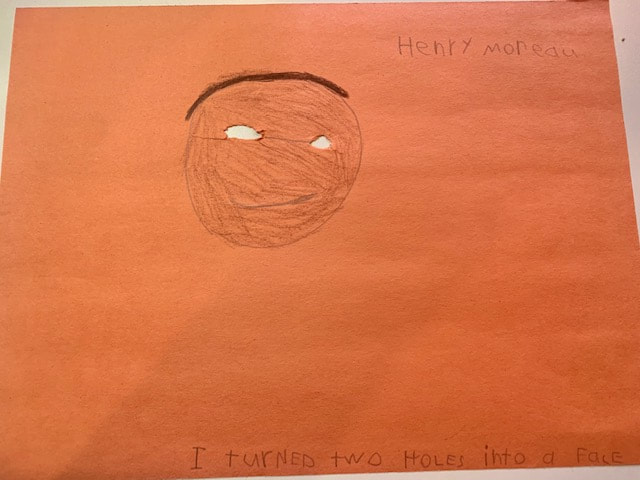
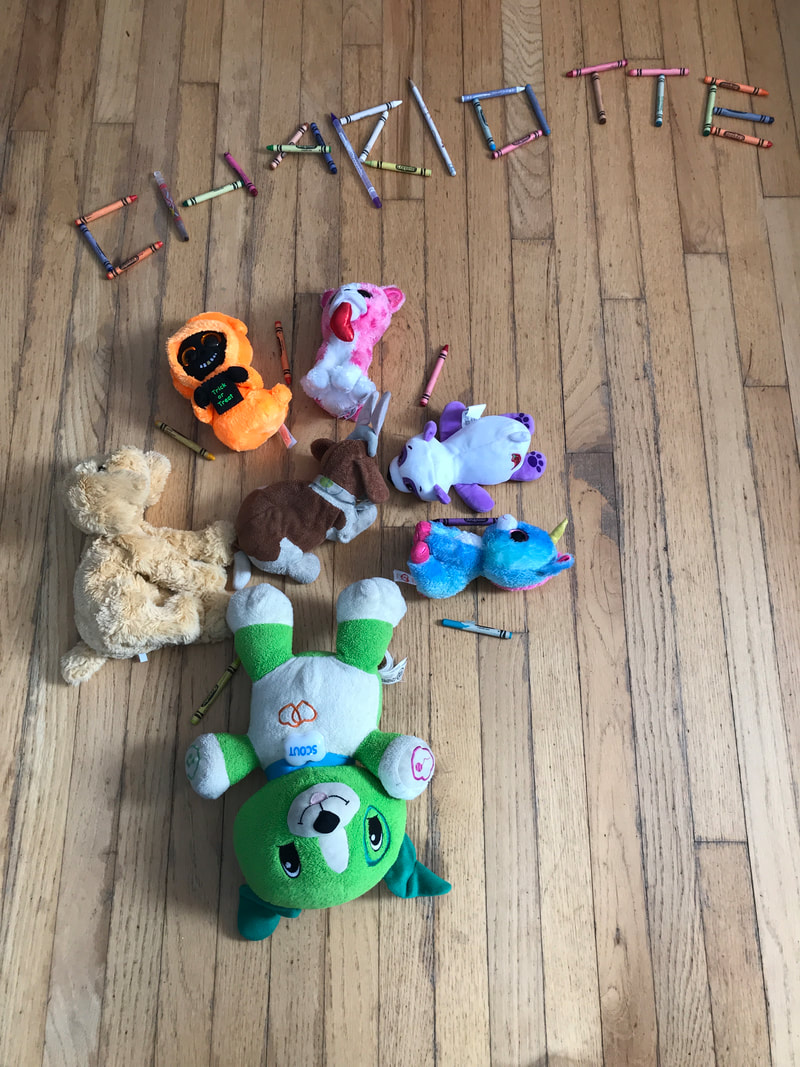
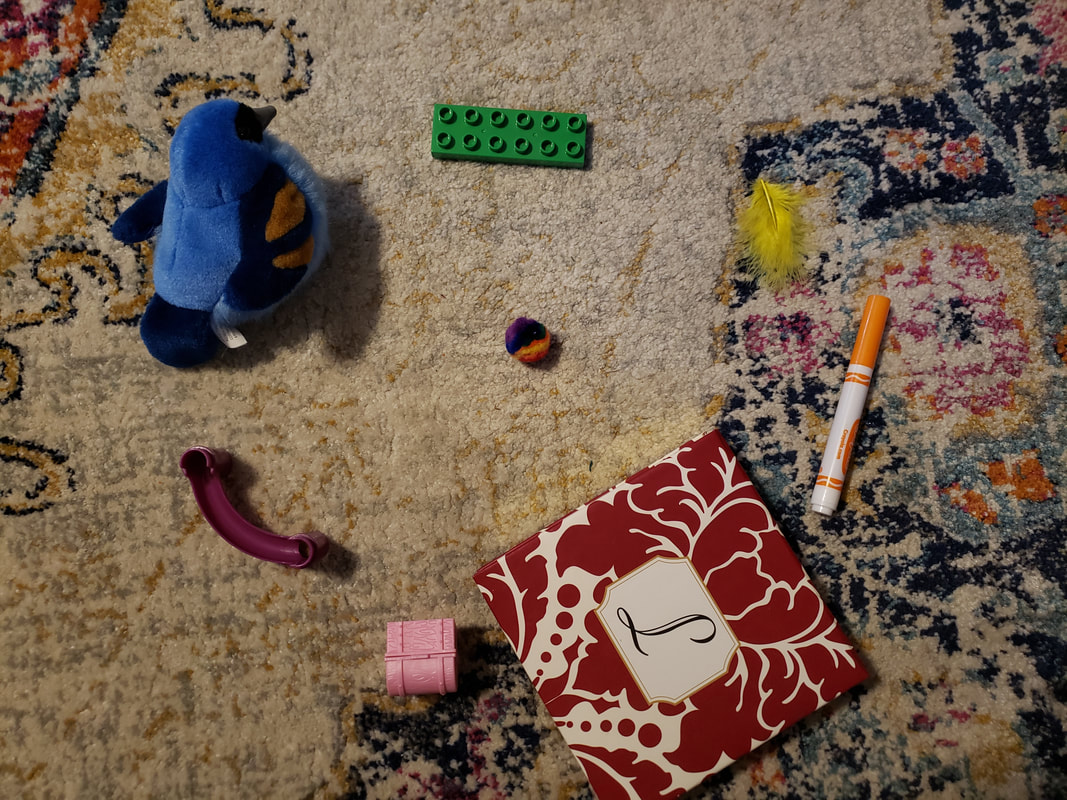
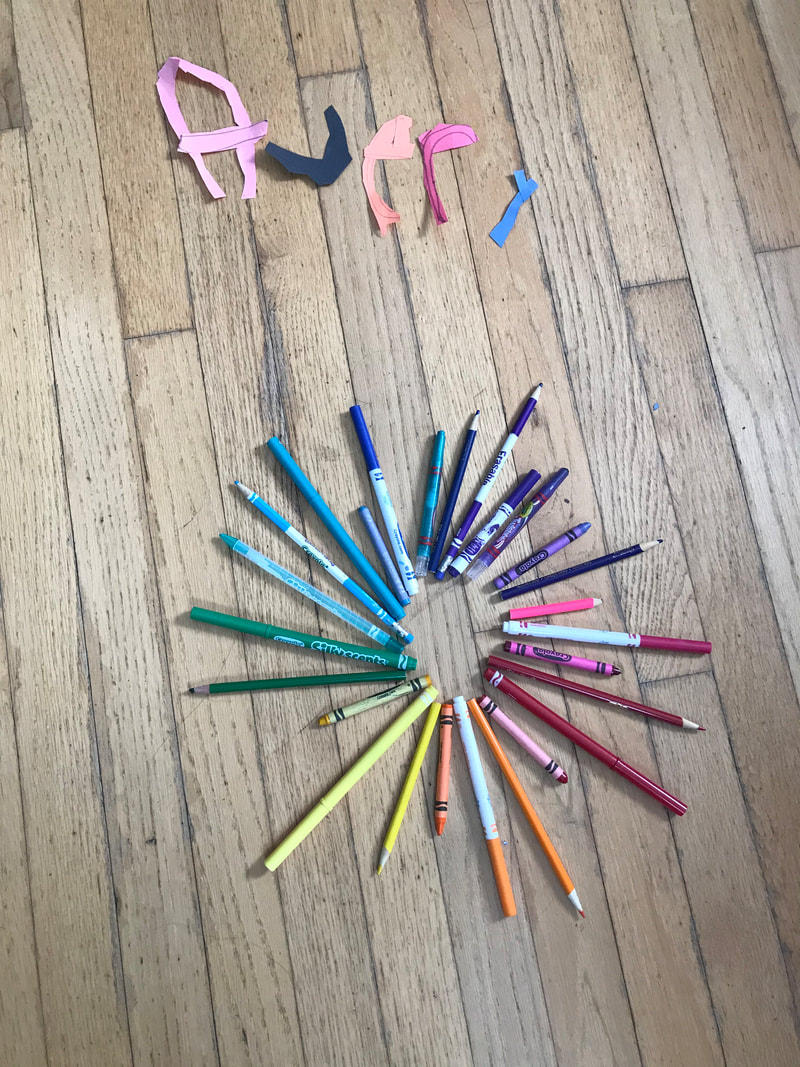
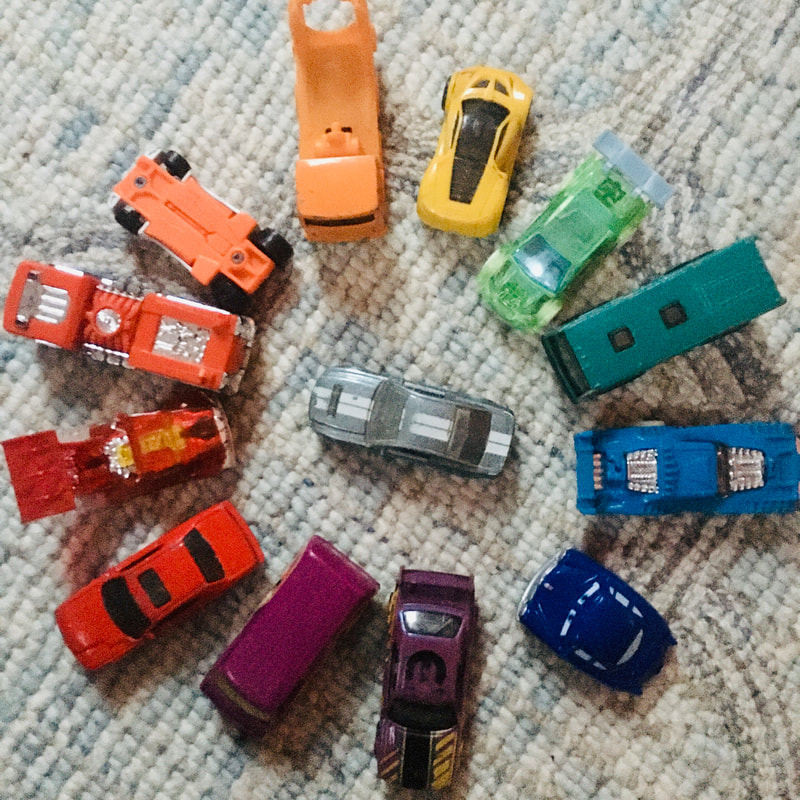
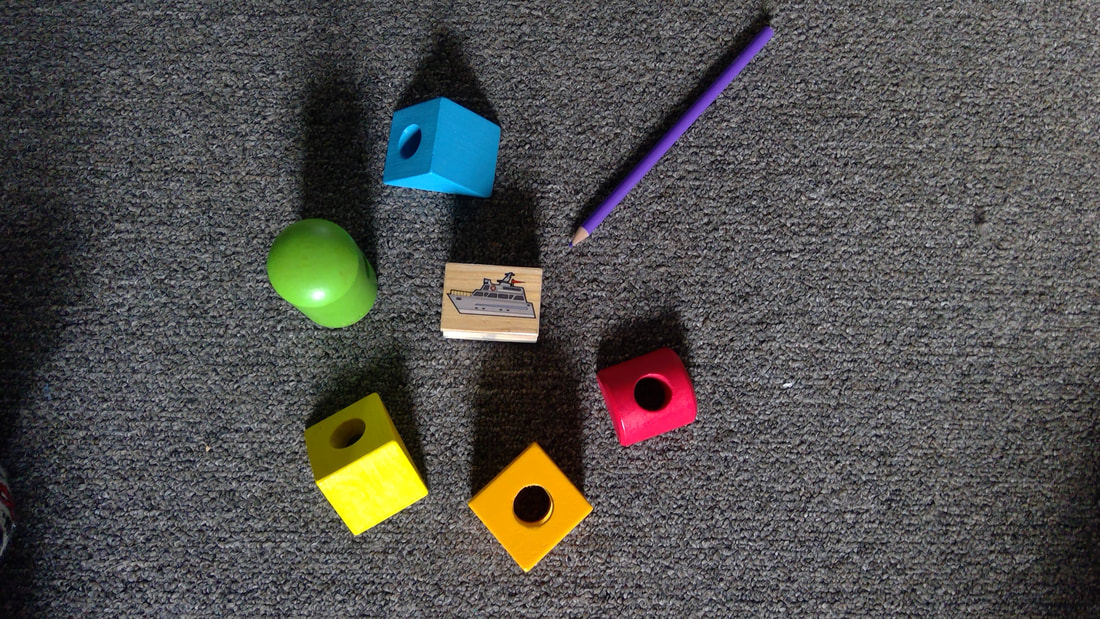
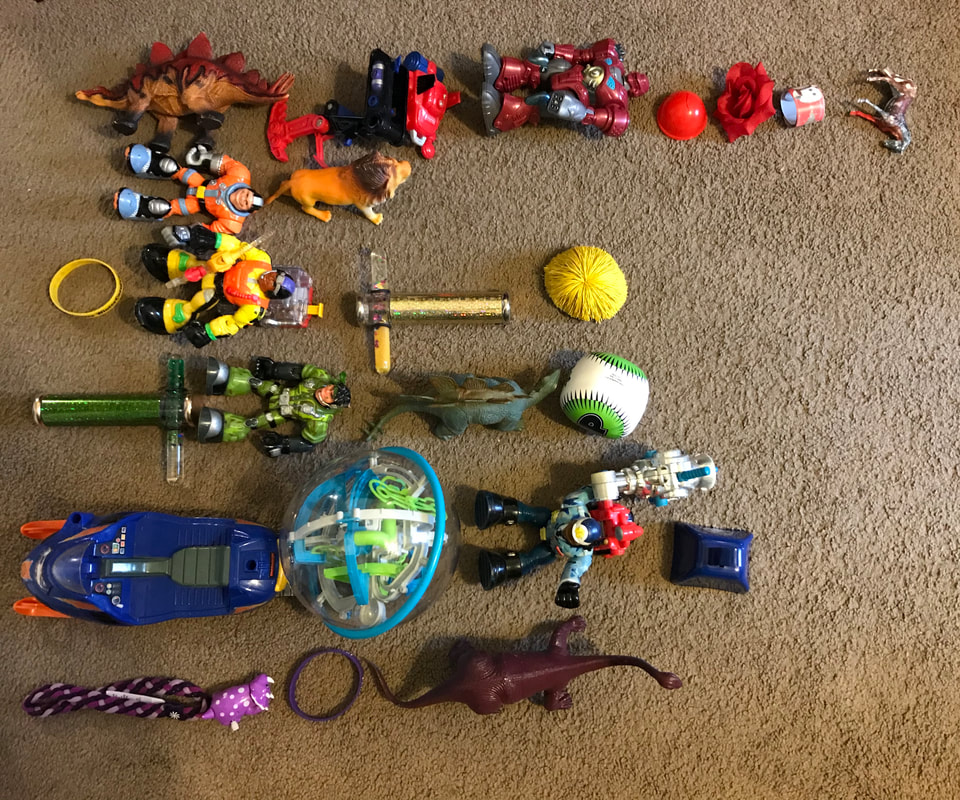
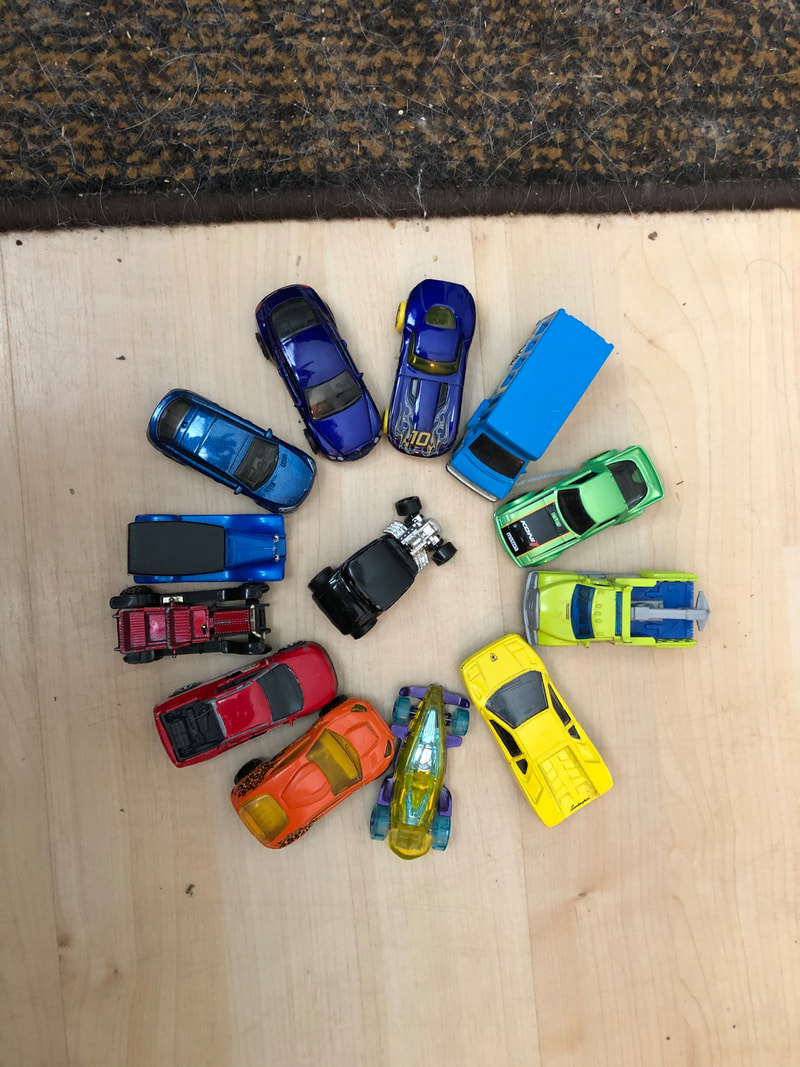
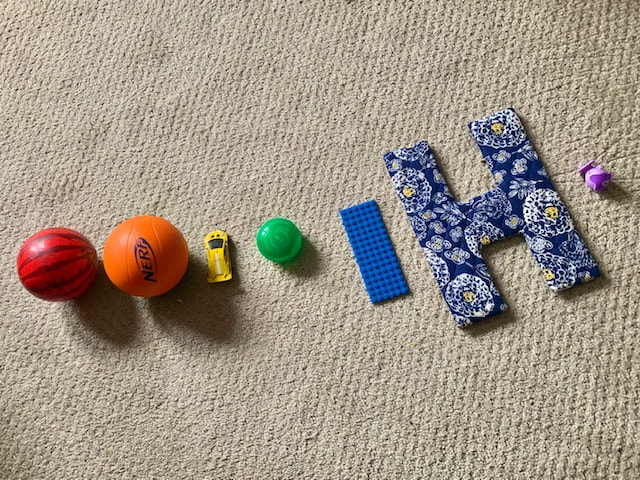
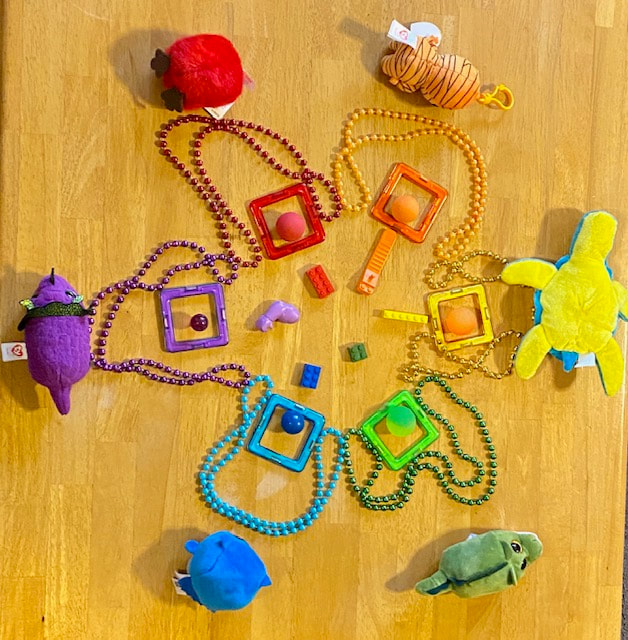
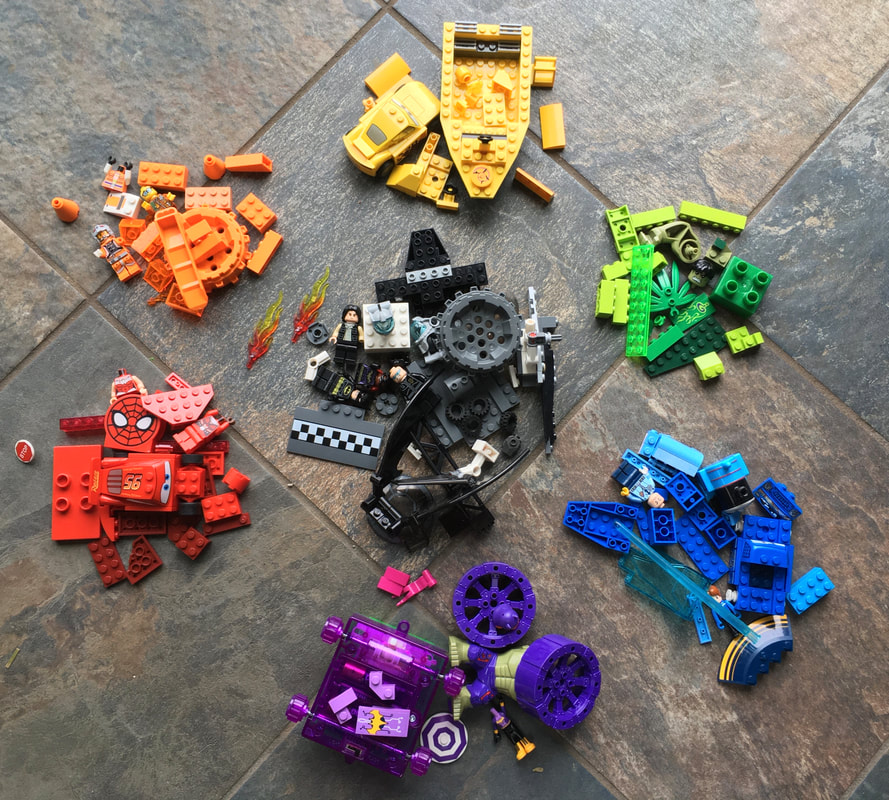
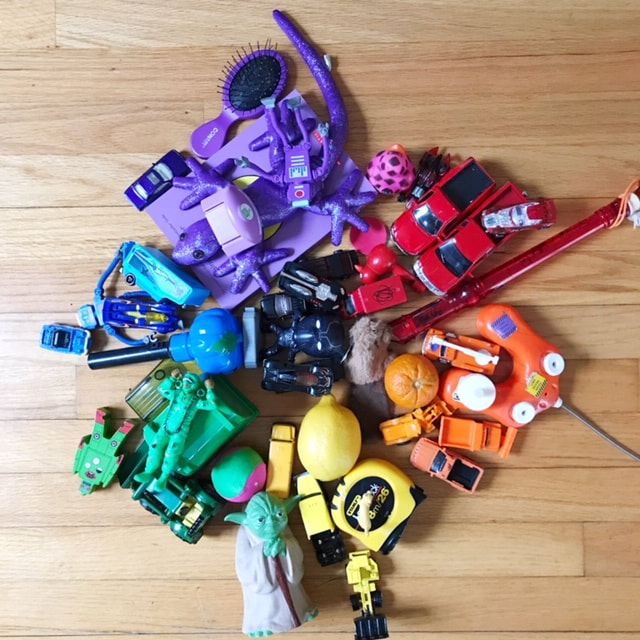
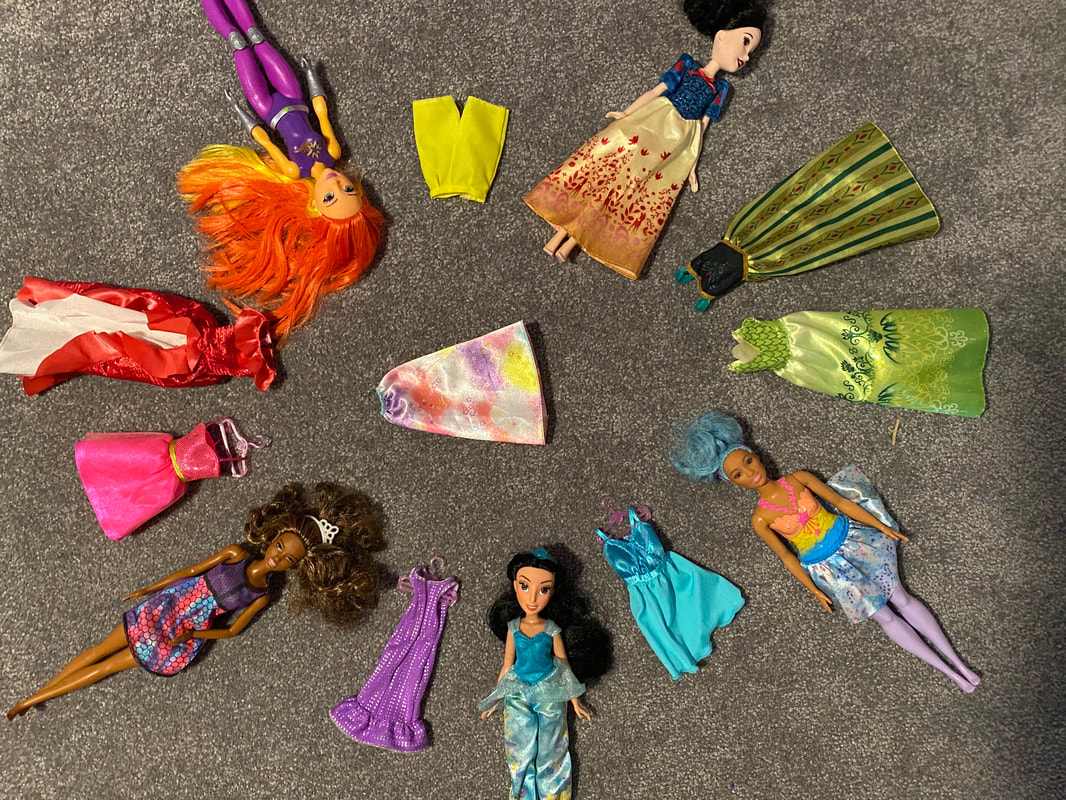
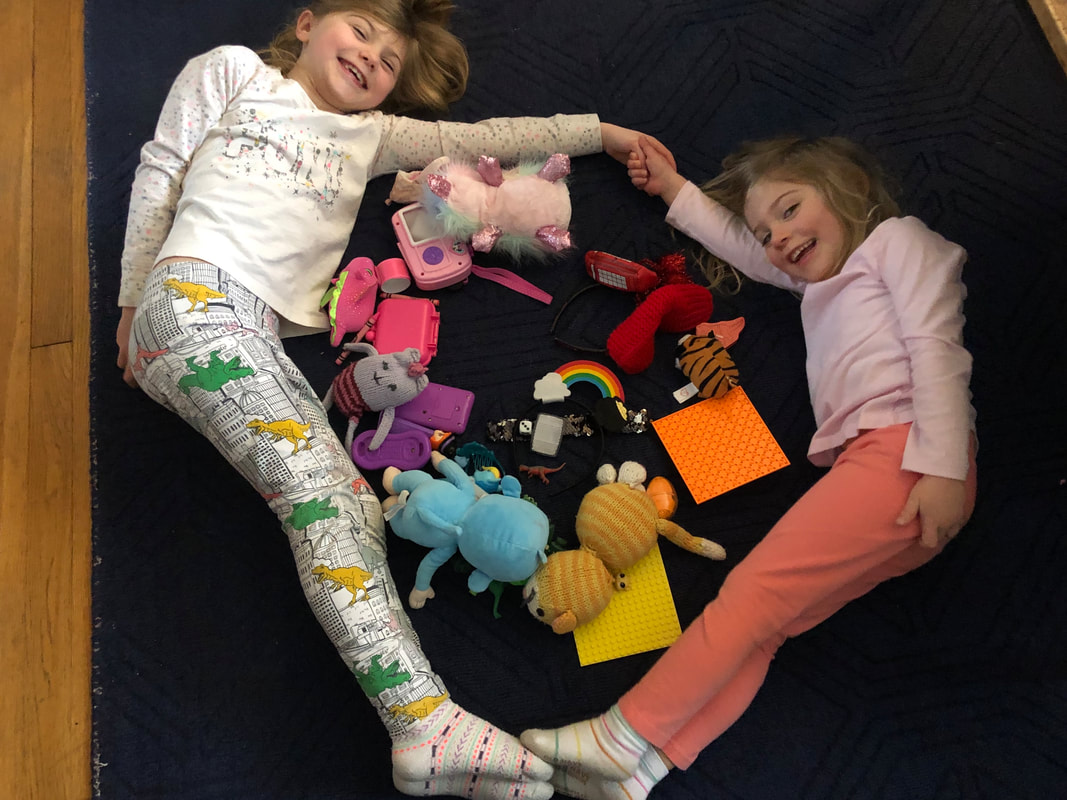
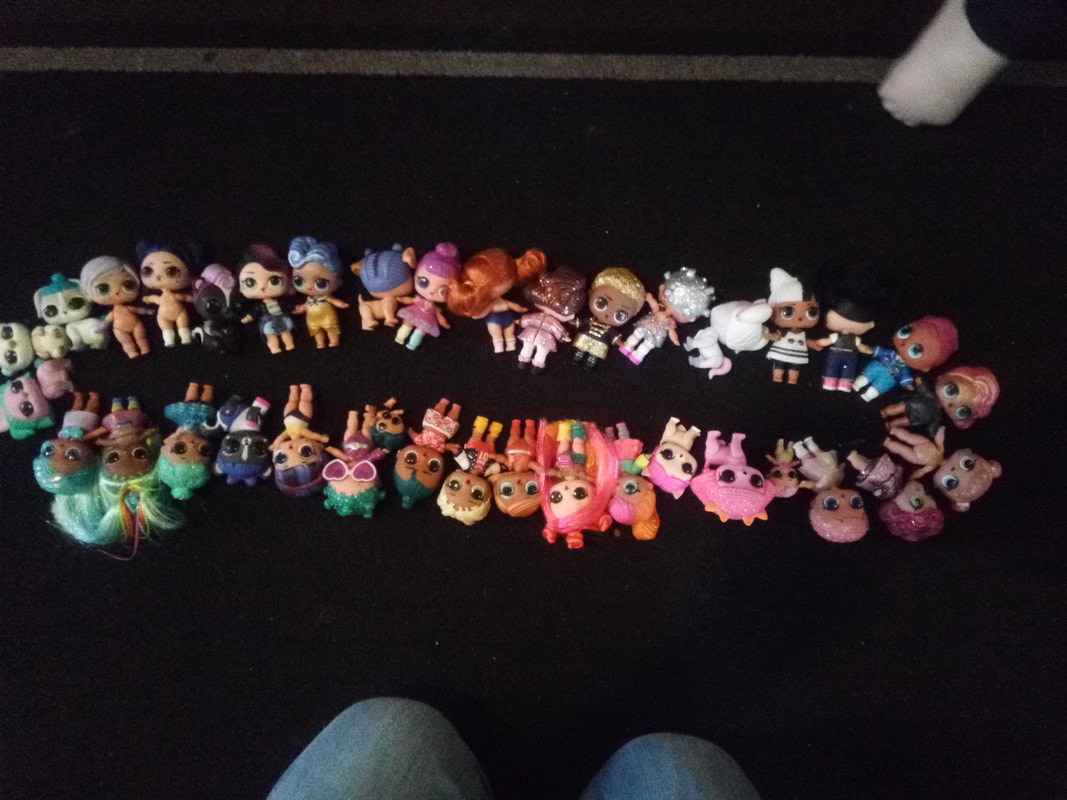
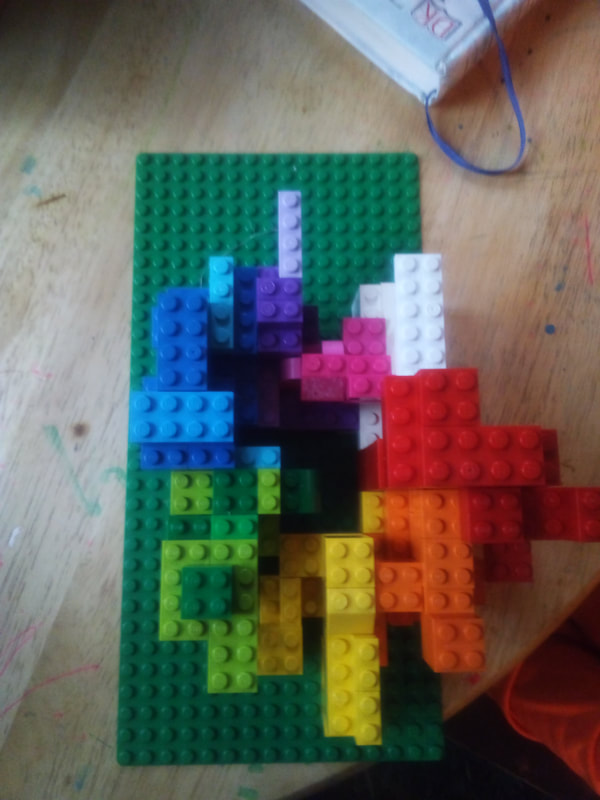
Heather Filder - Contemporary Mandala Artist uses layers and layers of pen on black paper - her mandalas are SO mesmerizing and vibrant! And while these two artists are not mandala makers, their work thrives on the use of concentric circles. Claire Desjardins is a Quebec artist who works on very large canvas, often painting in concentric circles. And my Kindergarten artists will remember we painted Wassily Kandinsky inspired concentric circles back in September, when we read "The Dot ", by Peter Reynolds. Happy Mandala Making!! Found Object "Mandalas" Hello, My Most Amazing Artists! I am super excited about this week's art at home project. For thousands of years, artists have been using what they can find around them to make their art. People can use materials from their natural environment and their home to express themselves - Artists do not have to own lots of fancy materials from art stores to make artwork successfully, or to become famous. The word “mandala” has a complex religious meaning in a number of faiths, but for Hindus, it means “circle” and represents the Universe. It’s also a spiritual and ritual symbol which stands for protection, good luck, and the notion that life is never ending. On the Pacific island of Bali, people create mandalas out of natural items, specifically flowers, with each color representing a specific aspects of their culture. This is a daily practice and offering for the people of Bali. Here are a few examples of some amazing mandalas: Contemporary artists Hillerbrand+Magsamen create lots of different kinds of art with their entire family across their entire home. They borrowed the idea of creating a "mandala" to help them cope with the loss of a family member, with objects around their home. Can you identify a theme in each one? What unifies each "mandala"? Challenge: How can you use the materials already around you to create amazing artwork? How can you create your own "mandala" to help you relax, focus and breathe? Let's brainstorm some of the things that you might have in and around your home, and make a "mandala" artwork with it. Make sure to first ask your grownup for permission to use these things. Natural objects, such as feathers, stones, leaves, sticks, shells, pinecones, seed pods. Plastic bottles and caps Paper junk mail Bubble wrap Cardboard, from food boxes or mailed packages Used makeup brushes Used kitchen sponges Old fabric, from outgrown or tattered clothes, cleaning rags Found objects, such as greeting cards, used wrapping paper remnants, postcards, playing cards, odd puzzle pieces, outdated maps Kitchen utensils Toys, such as little cars Here is my first go at a "mandala" from items I found around my studio this morning. I placed them on my yoga mat because I liked the purple background. 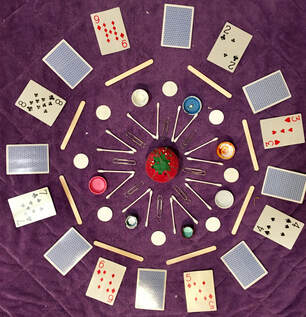 I cannot wait to see what you and your families create.
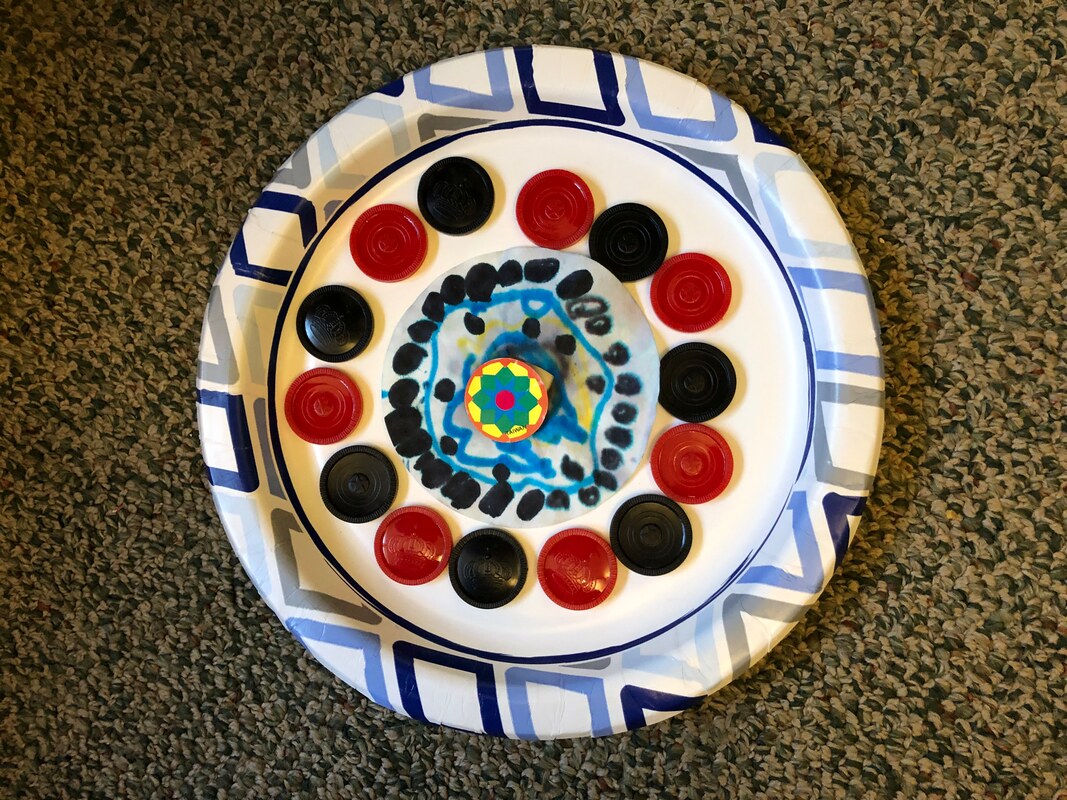
Please email me a photo of your creation and I will share them in this week's friday gallery. Later this week, I will be sharing some printable mandala coloring pages you can choose to print, and a few other artists who use the mandala as inspiration. Welcome to this week's Friday Art Gallery! Thank you all so much for sharing your art with me! Feel free to keep sending them along, and I will add to the gallery as we go -I know this project is a little more time consuming than most! NEXT WEEK: more art with FOUND OBJECTS and a little HISTORY around MANDALA Making! Miss you! Mrs. Mitchell 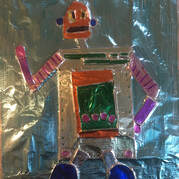 Hello My Fabulous Art Humans! I am LOVING seeing the Callograph Plates that you are making, and the rubbings you've made from their Texture!
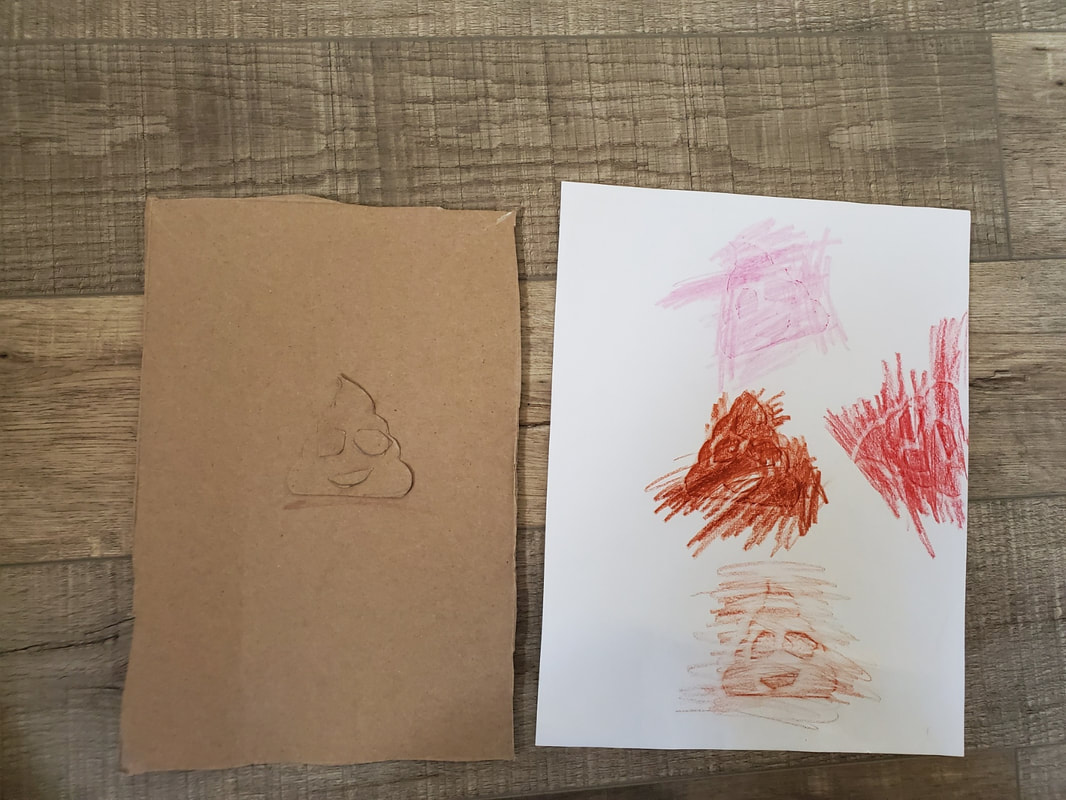
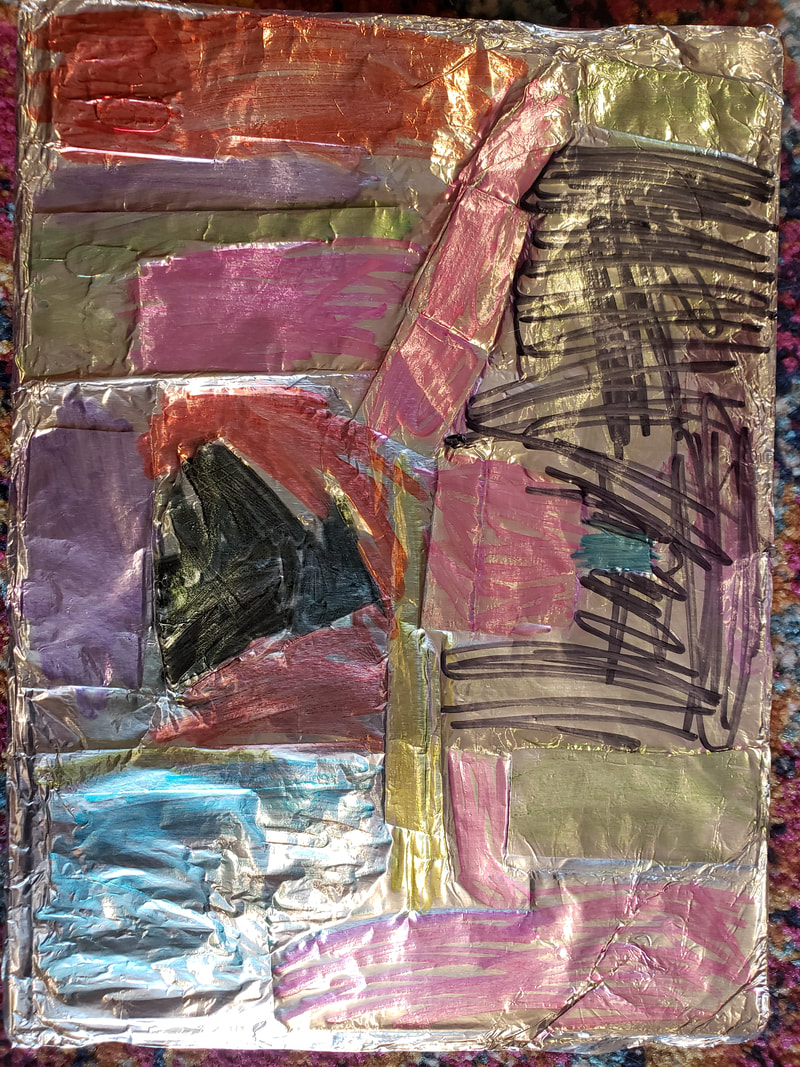
Some of you have colored the plates themselves, which looks awesome! ANOTHER thing you can do with your plates is cover them in Foil and then color them with markers! (Third Graders you did something like this with our foil, nature texture rubbings in the fall!) Watch my video HERE to see the process! Looking forward to posting the gallery tomorrow!  Okay artists! This is where the FUN begins with your callograph plates! Watch my video for ideas of things you can do with rubbings of our callograph plates!
Supplies: Paper - any kind Crayons Callograph Plate (glue dried!) Optional Supplies: White Crayons Watercolors Remember to email me with photos of your work!
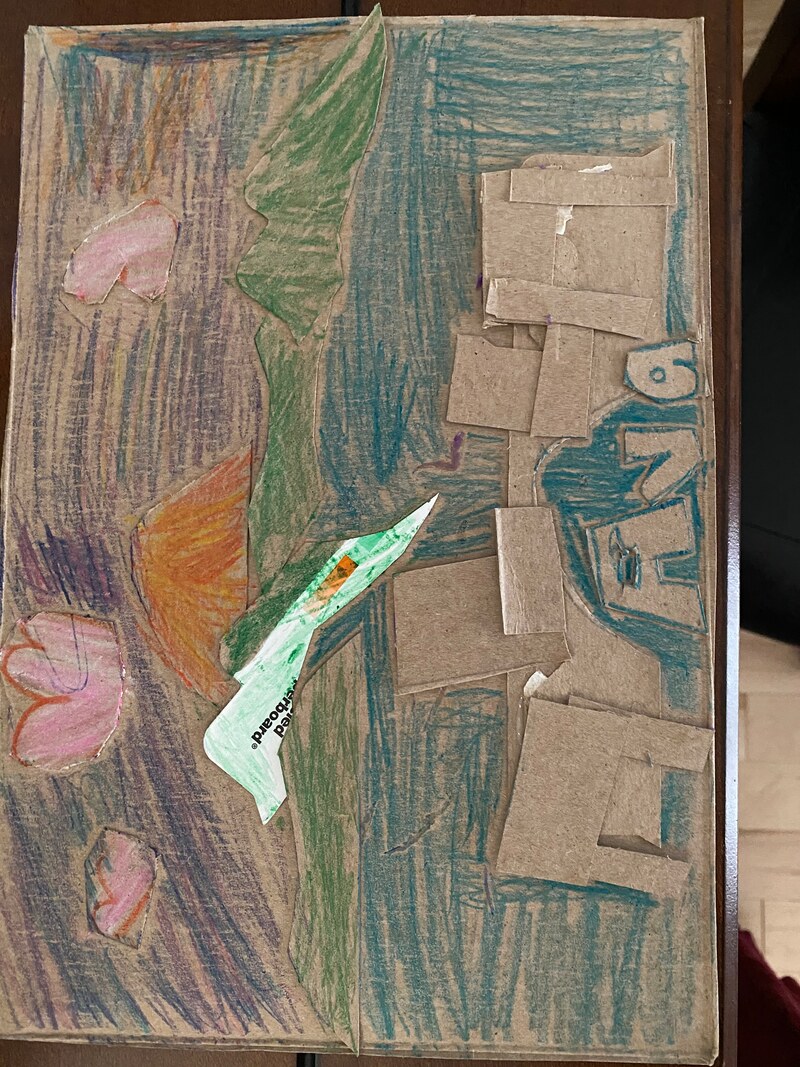
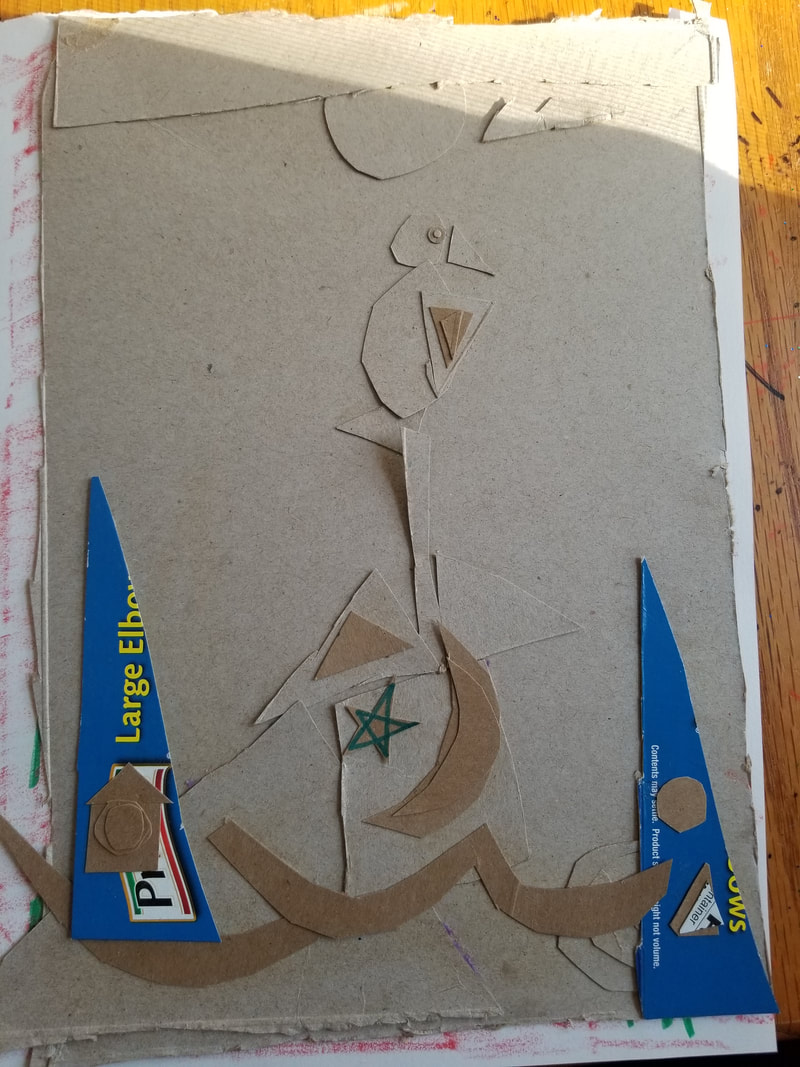
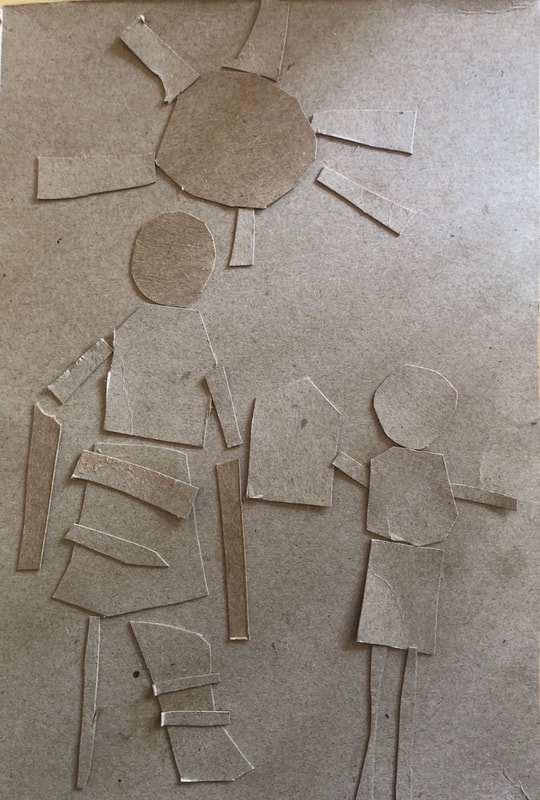
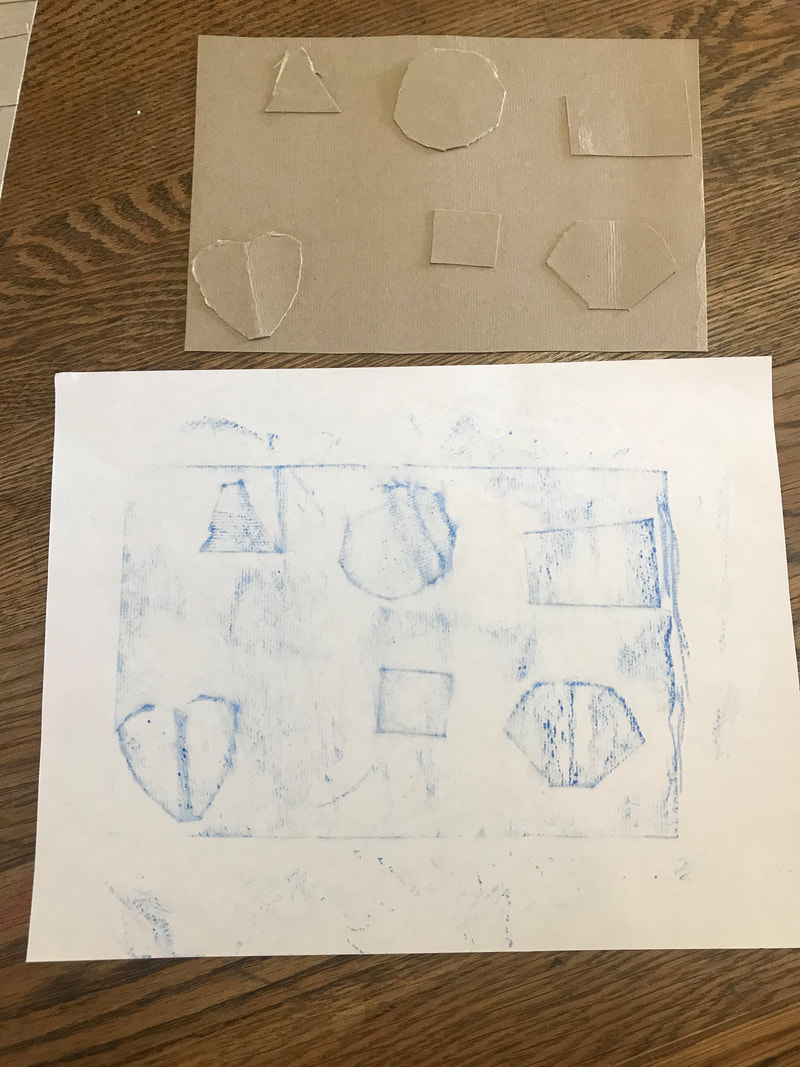
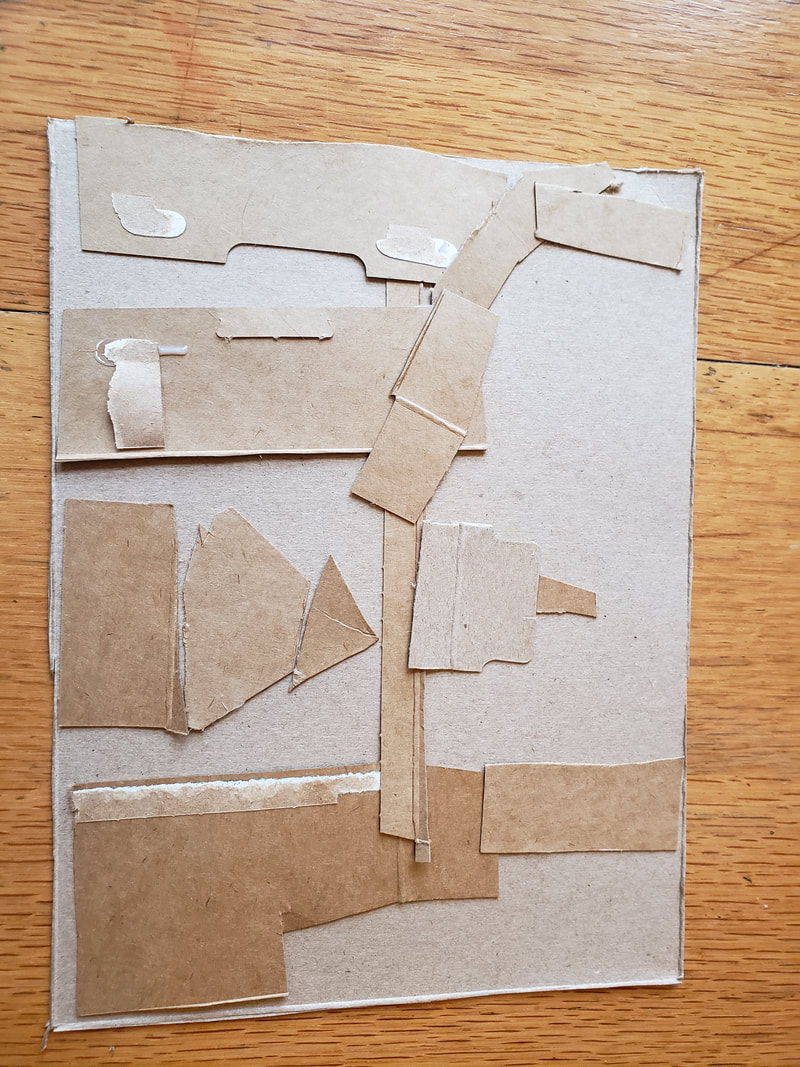
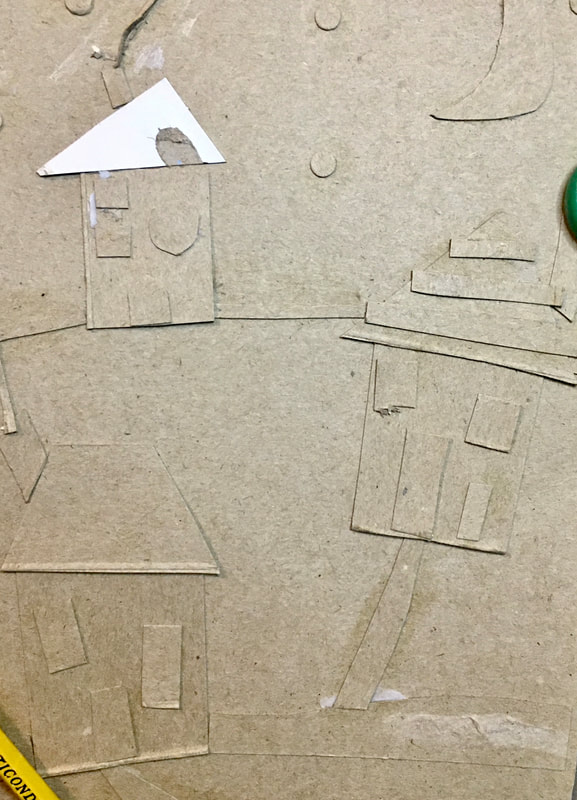
We will use SHAPES to create a callagraph plate! Here's what you need:
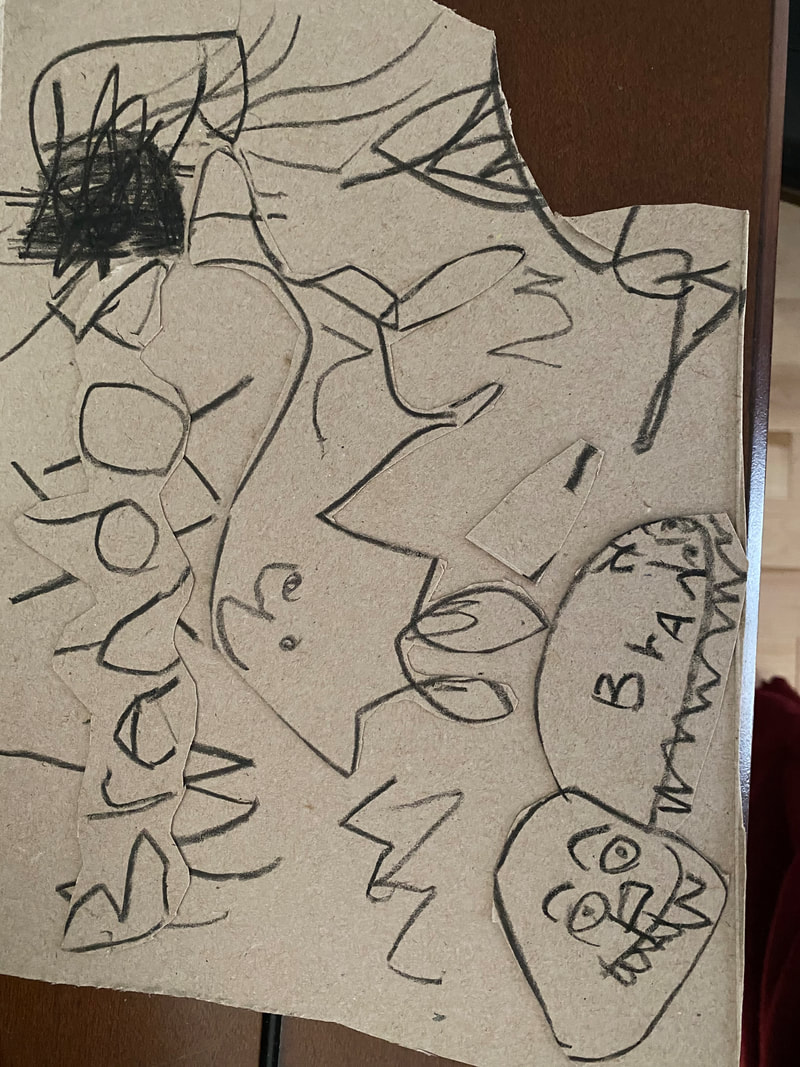
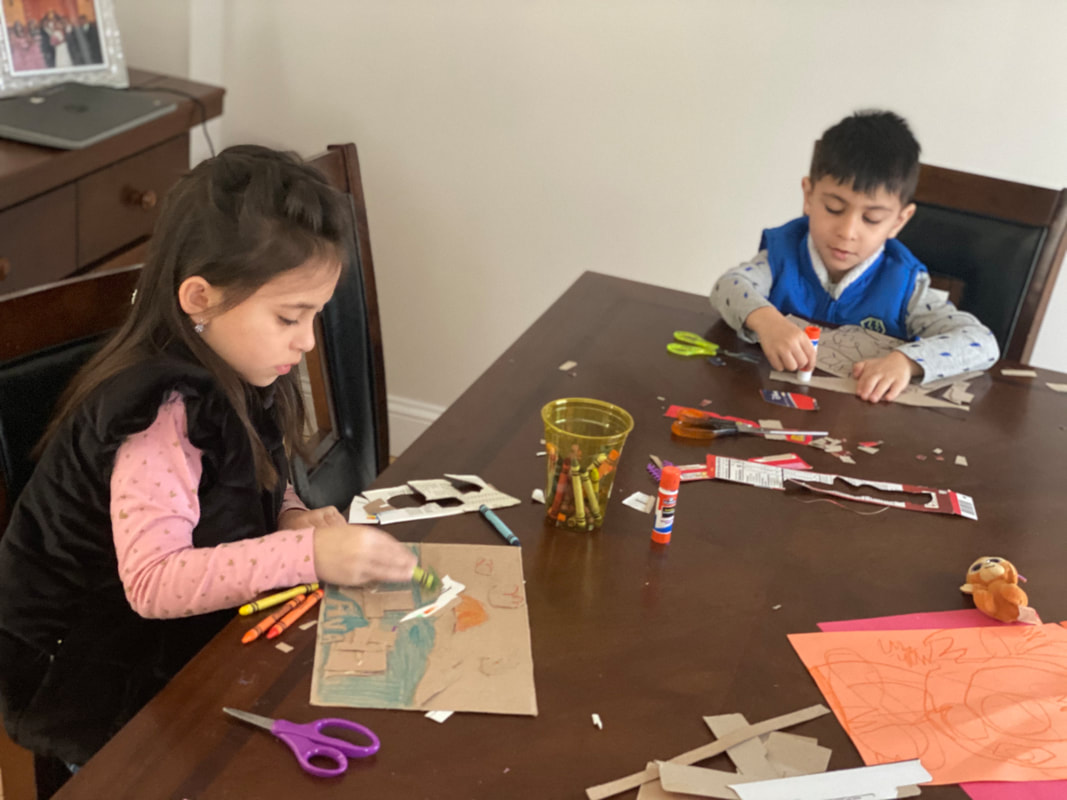
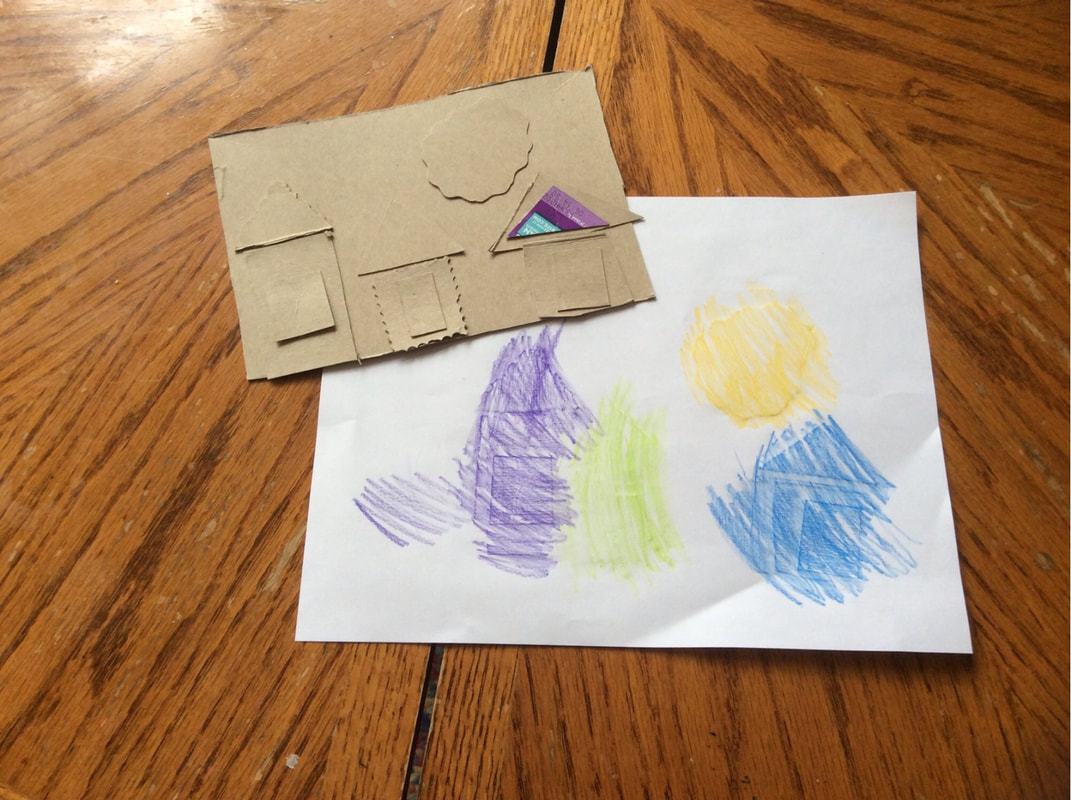
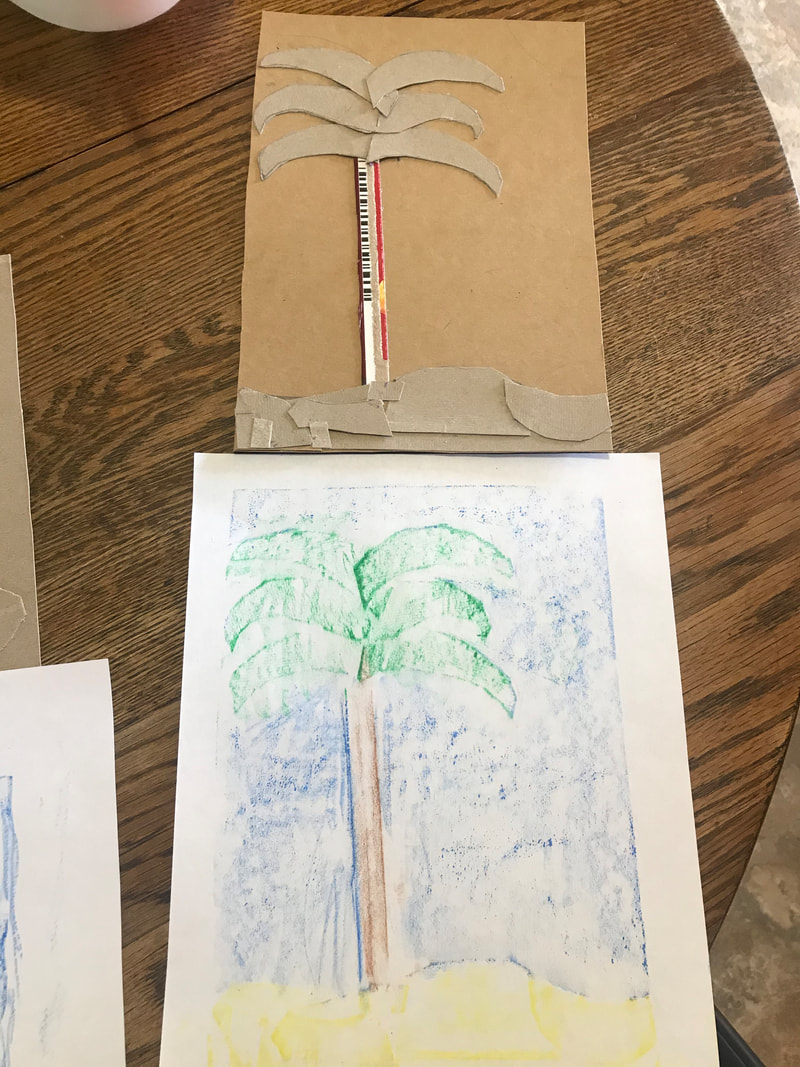
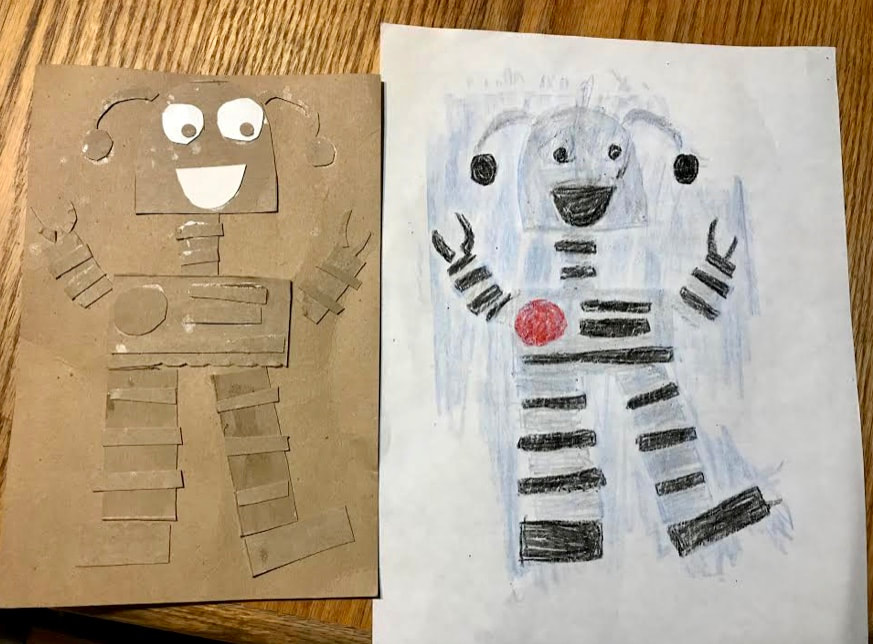
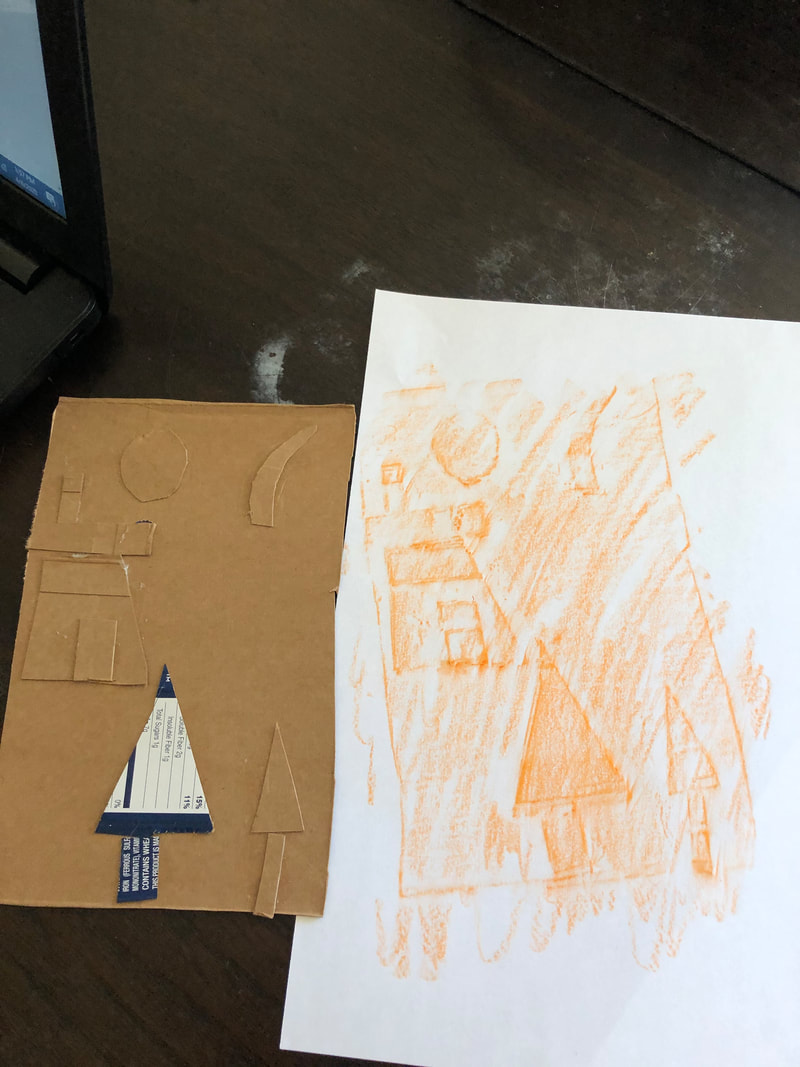
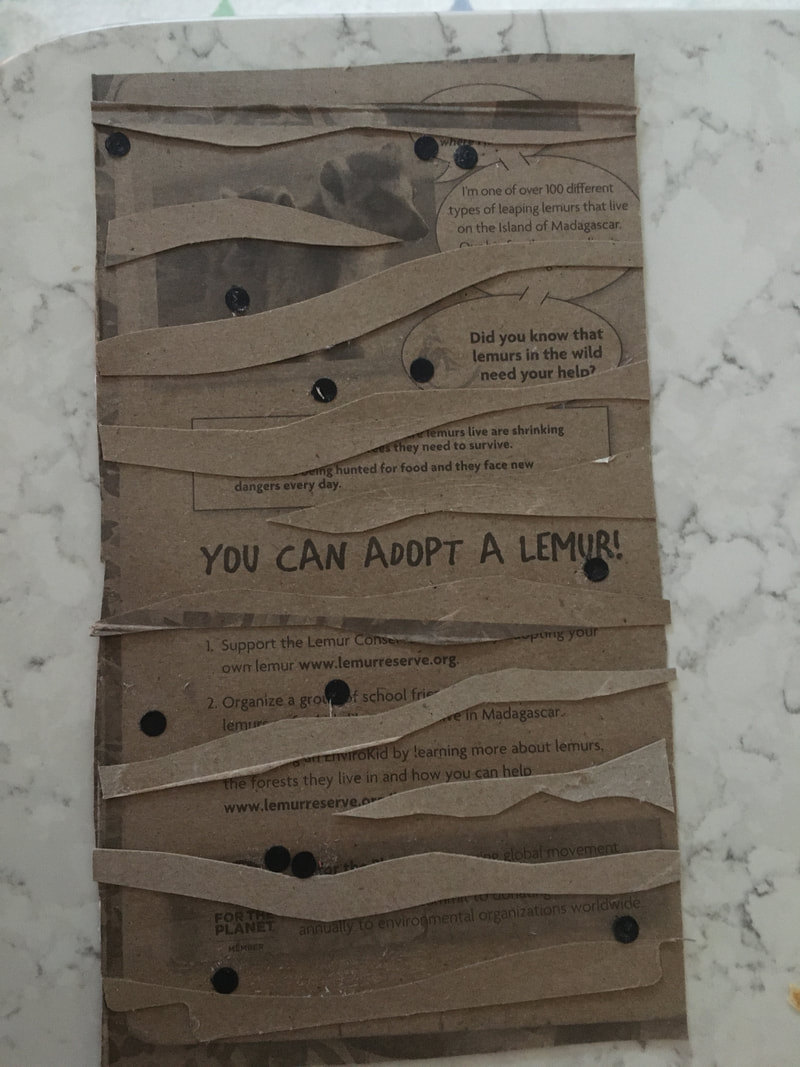
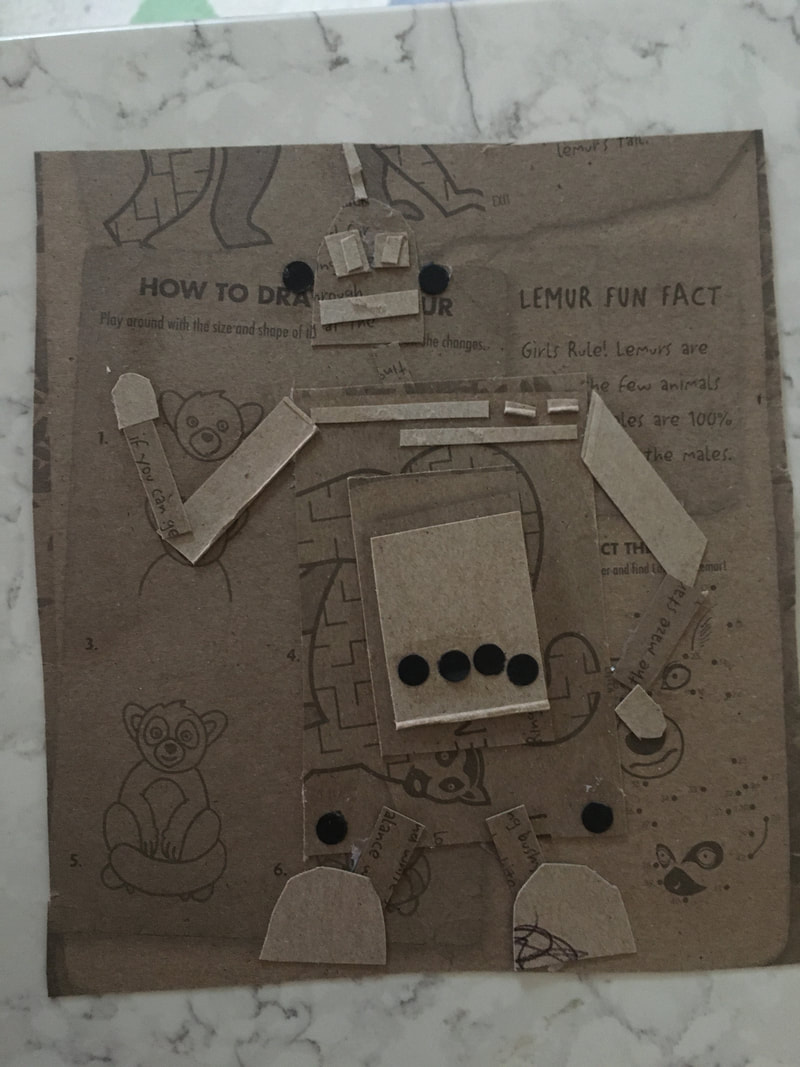
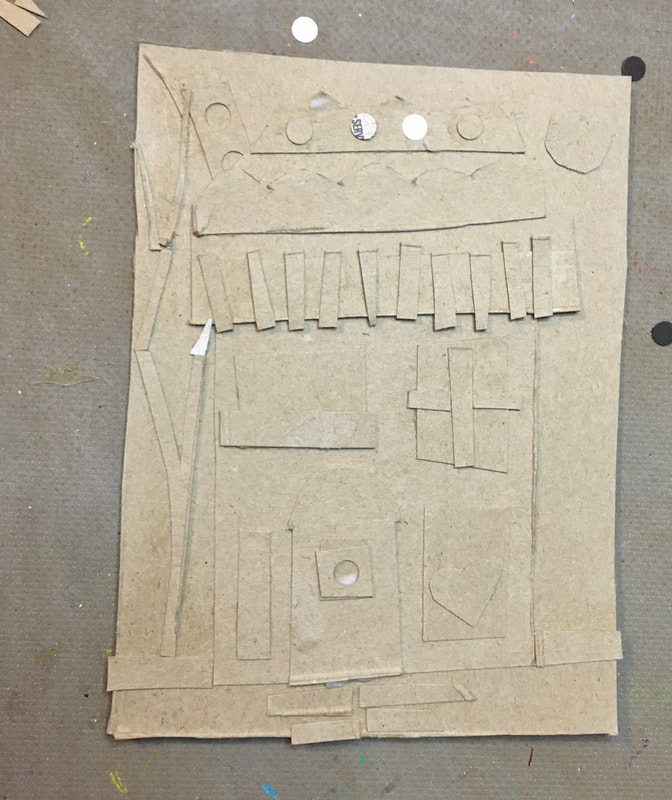
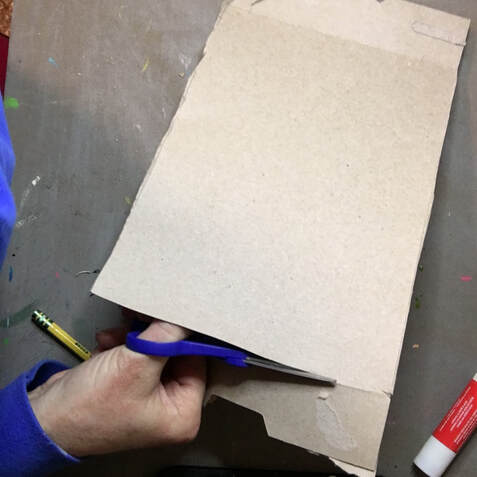 Cut your box completely open on the seams. You will have the front, back, sides, top and bottom pieces all separated! 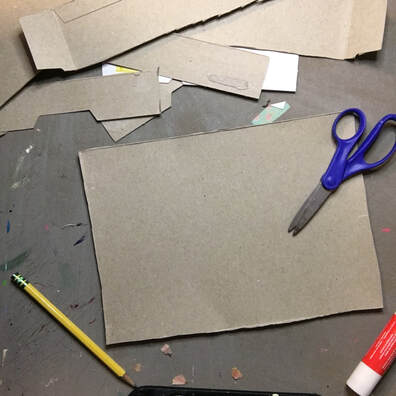 One side of my cereal box will be the background, and I will glue all of my callograph cut out pieces onto this! 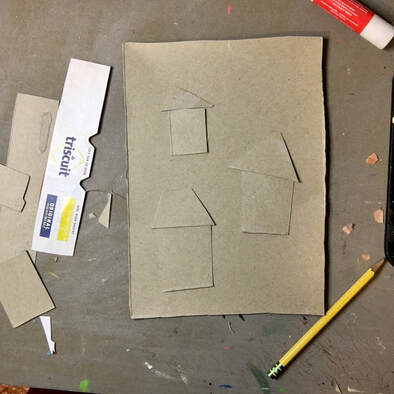 Begin by planning out your design. Cut out the basic shapes for your design but don't glue them right away. Play around with them until are happy with your design, then glue the pieces in place. 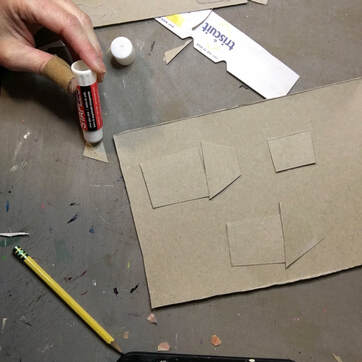 Glue your pieces to the background! 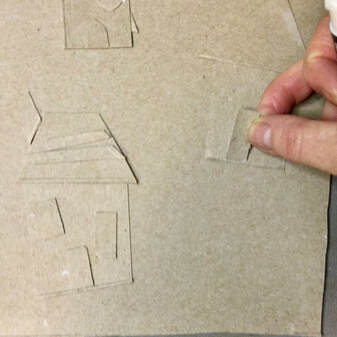 Once the big shapes are glued down, you can add layers of detail. This part is important because it will make your final design POP!!!! For my houses, I added stripes on the roof, widows, doors - have fun and get creative with your ideas! 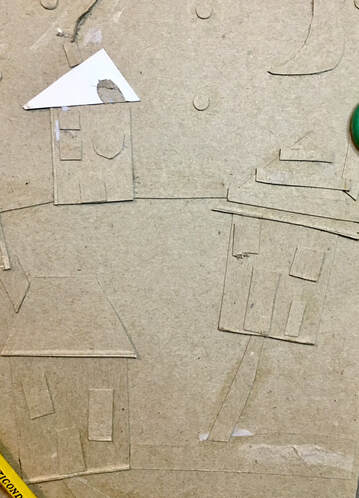 I added some details to the background - I added a moon and some stars (using a hole punch). Whoops! Do you see how I accidentally glued the front of the box facing up with one of my shapes? That's OK because we will be COVERING this all up later this week! Scroll down for a few more plate ideas! You can create whatever theme you want! 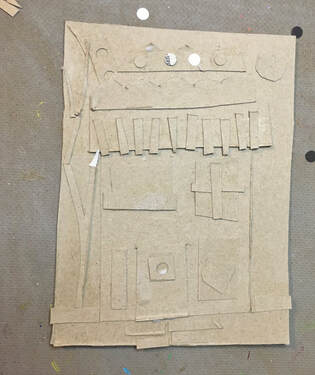 o Here is my one house design! I used half of a box for this callograph plate.   And this is my LINE design here! The dots are paper hole punch holes! I am actually super excited about this design!
TOMORROW - I will be showing you how to use these callagraph plates to make RUBBINGS and on WEDNESDAY I will show you how to wrap these plates in FOIL and color with markers to make them super shiny and FUN! QUESTIONS? Please EMAIL ME!!!!! Have fun creating! -Mrs. Mitchell
|
Emily MitchellBlog Archive
August 2020
|


 RSS Feed
